
Planning & Inspiration
I’ve loved the world of Pokémon since I was a kid—it continuously sparked my imagination and my passion for art. Some of my fondest memories from when I was younger was playing Pokémon with my brother and dreaming about what it would be like if we were Pokémon trainers.
While the franchise is dear to my heart and has always inspired me, I’ve felt their recent games don't take full advantage of their artistic potential. With my capstone, I wanted to explore what a more stylized, painterly take on the Pokémon universe could look like.
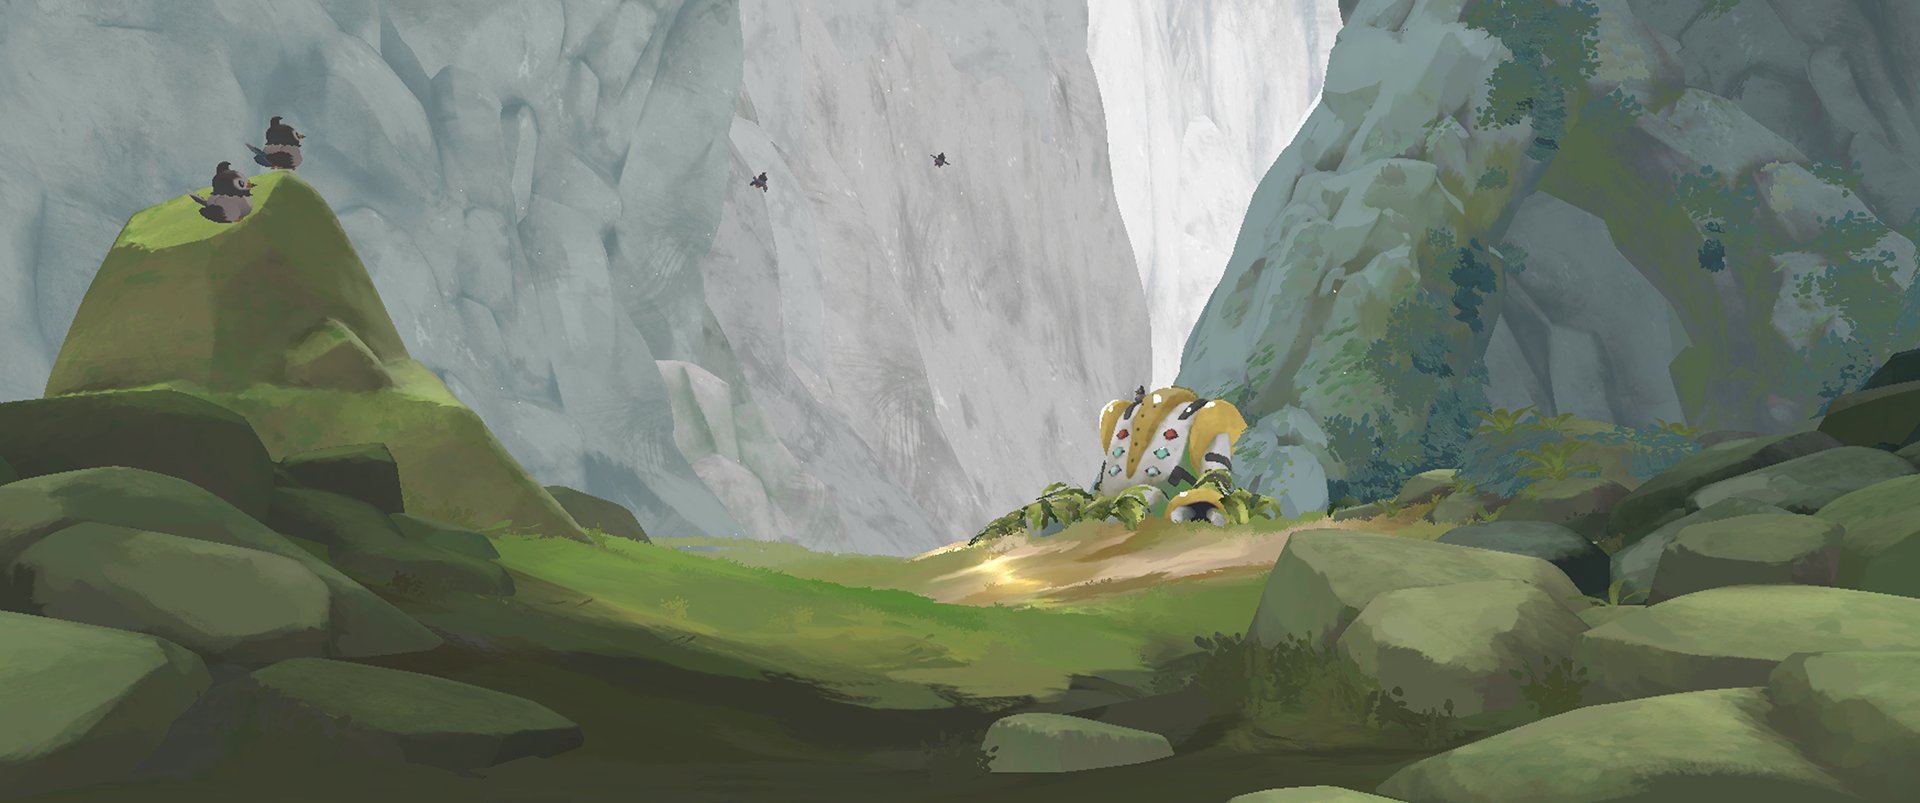
I chose to base my environment off of one of ShenYH’s concept illustrations, which depicts Regigigas resting peacefully in a valley between cliffs. I thought this piece would be fun to recreate in 3D, especially since I wanted to model more organic assets and experiment with storytelling through environment design.
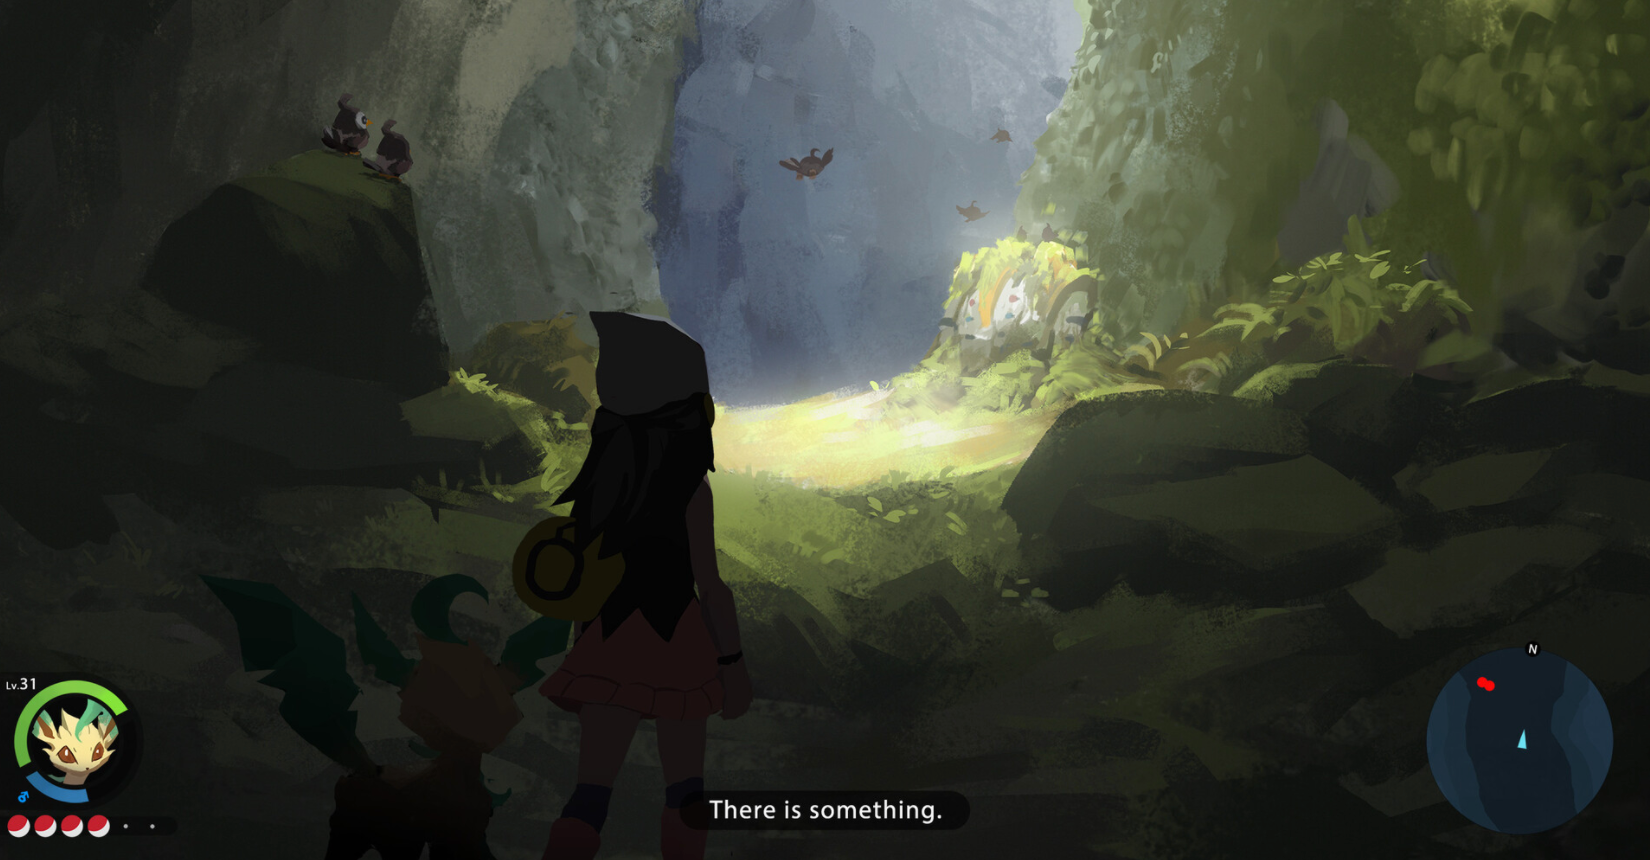
Concept art by ShenYH
To start, I did a good amount of research and planning to make sure my idea was in scope and to figure out how I’d approach the stylized look. I referenced tutorials from Polygon Academy, Agustin Hönnun, and one of my favorite environment artists, Viktoriia Zavhorodnia.
I also used Miro to collect and organize references for various aspects of my environment, including the landscape, rocks, foliage, stylization, and Pokémon.
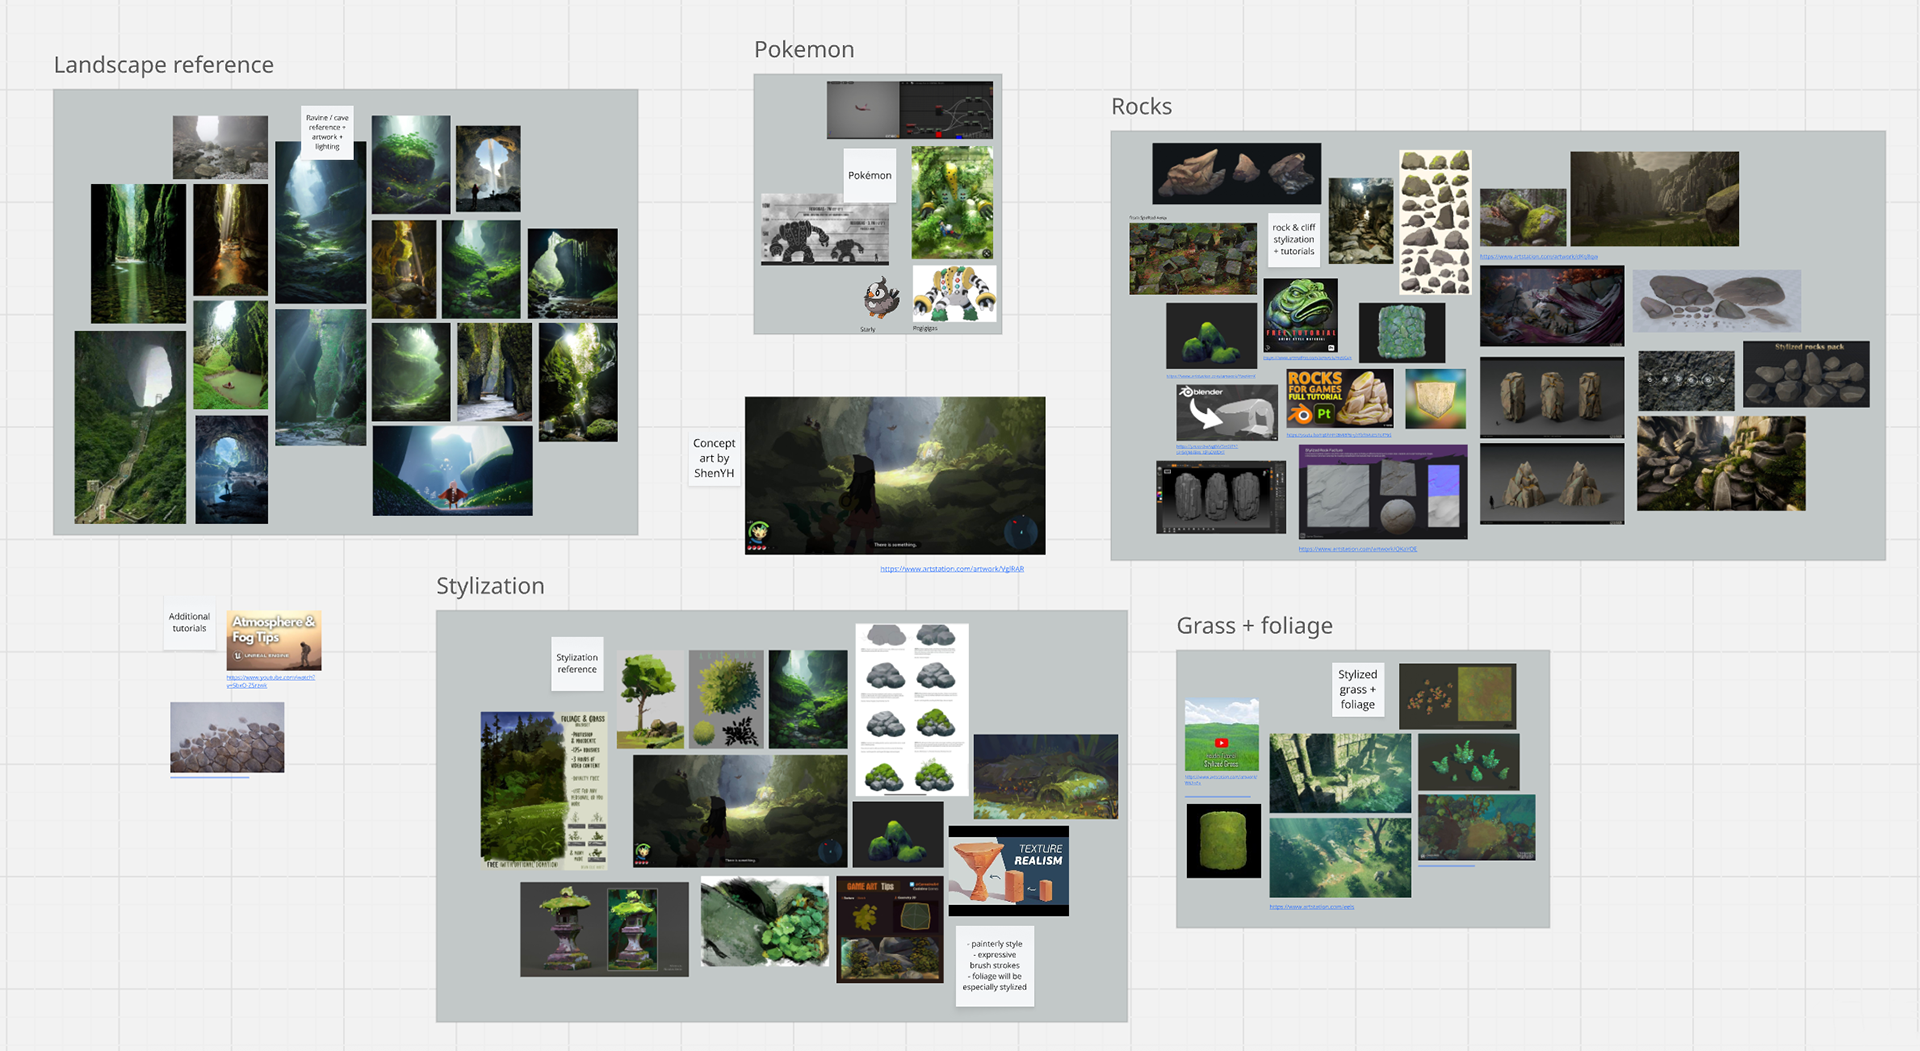
Capstone Miro Board
Blockout & Composition
I began blocking out both the layout and lighting in Unreal Engine with simple cubes and a directional light. I also created a post process material that overlays the concept art on top of my perspective camera to see how my layout matches up with the original art. After I felt I had achieved the basic layout, I decided to change the composition slightly by going for a lower camera angle, which I thought looked more cinematic.
I found several proxy models on sketchfab to block in bigger aspects of my environment such as the rock and birds on the left of the foreground and the Regigigas Pokémon in the back. I couldn’t find a good Regigigas proxy model, so I just used a Regirock model instead since it’s relatively similar. These proxy models helped me to visualize the size and shape of key models in my scene.

Layout iterations in Unreal Engine
Modeling & Sculpting
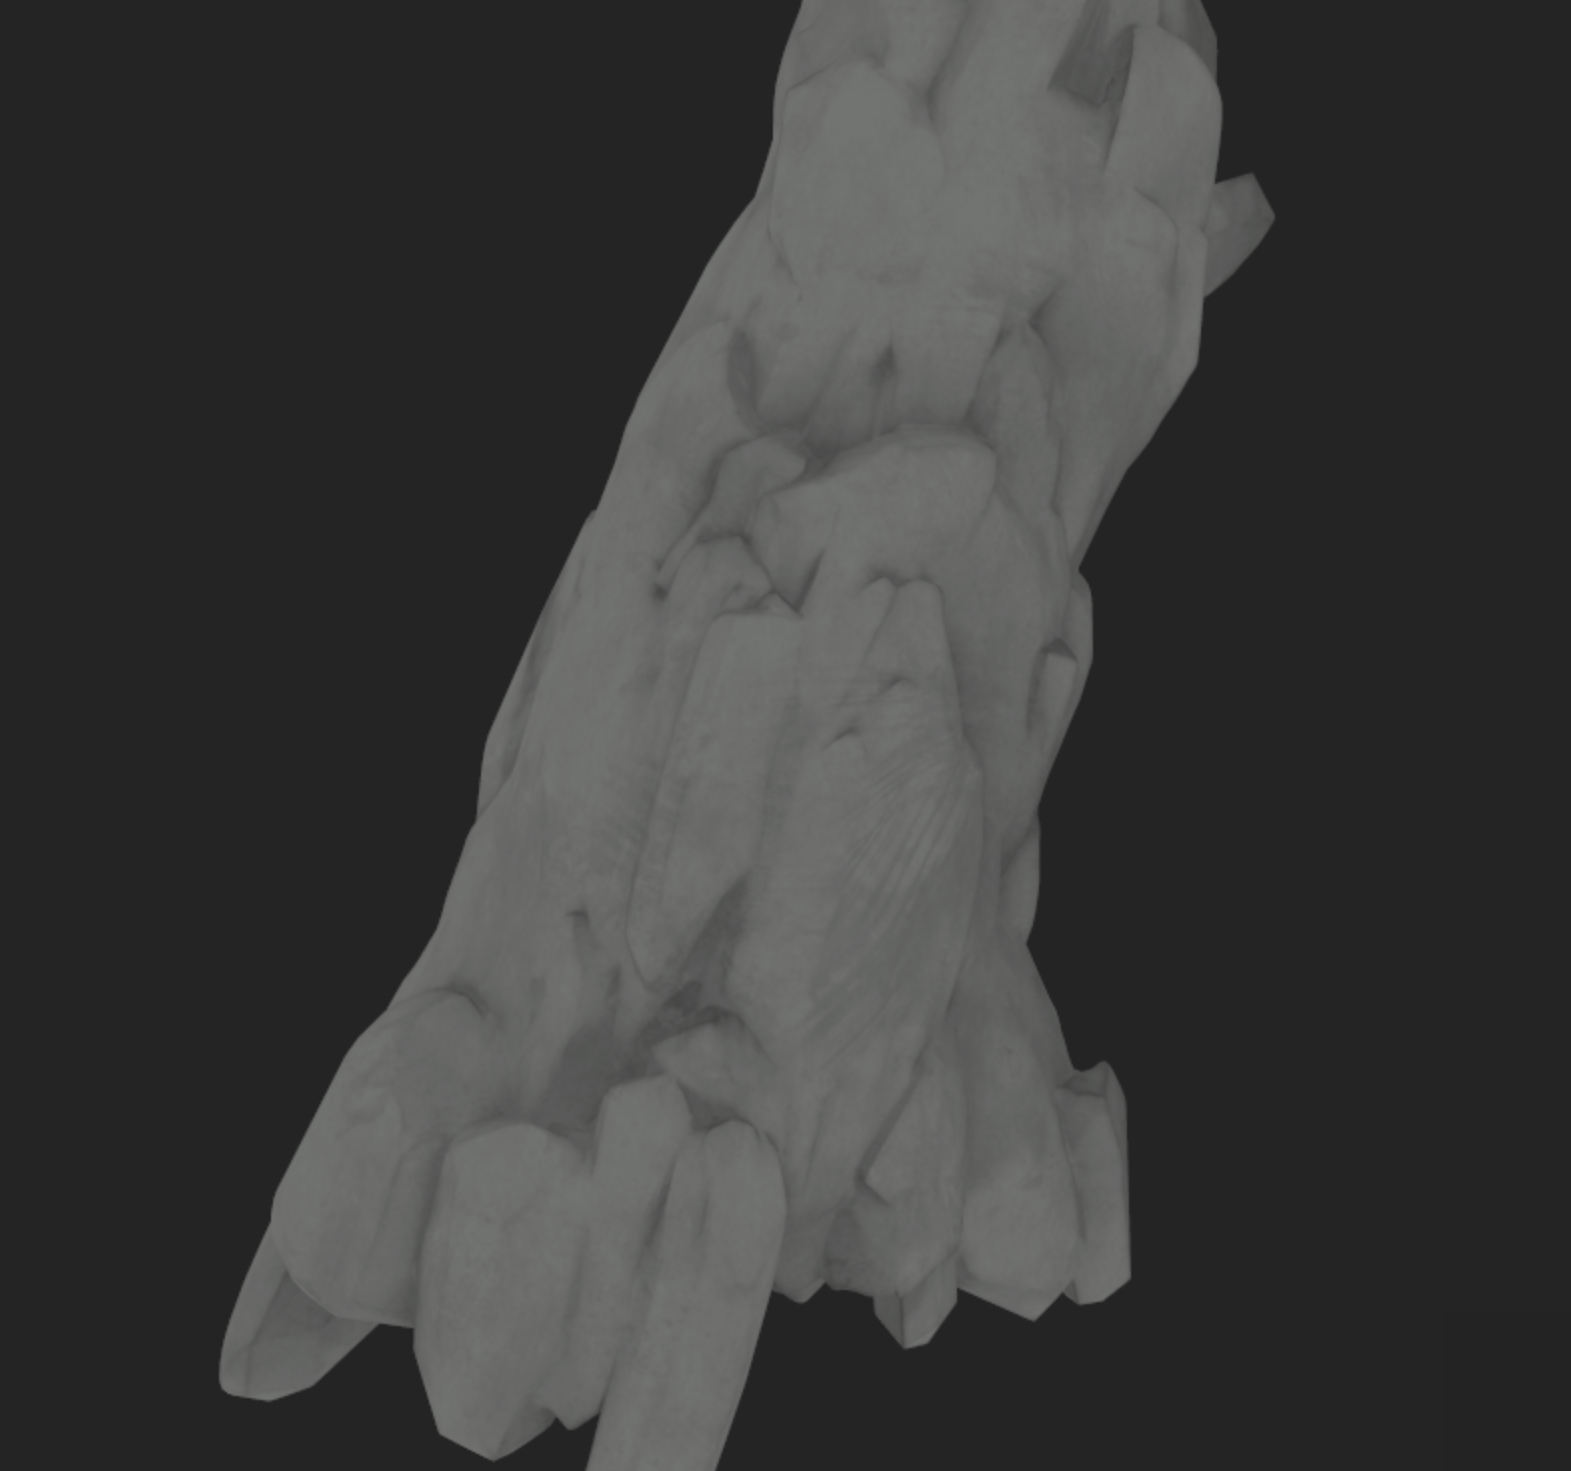
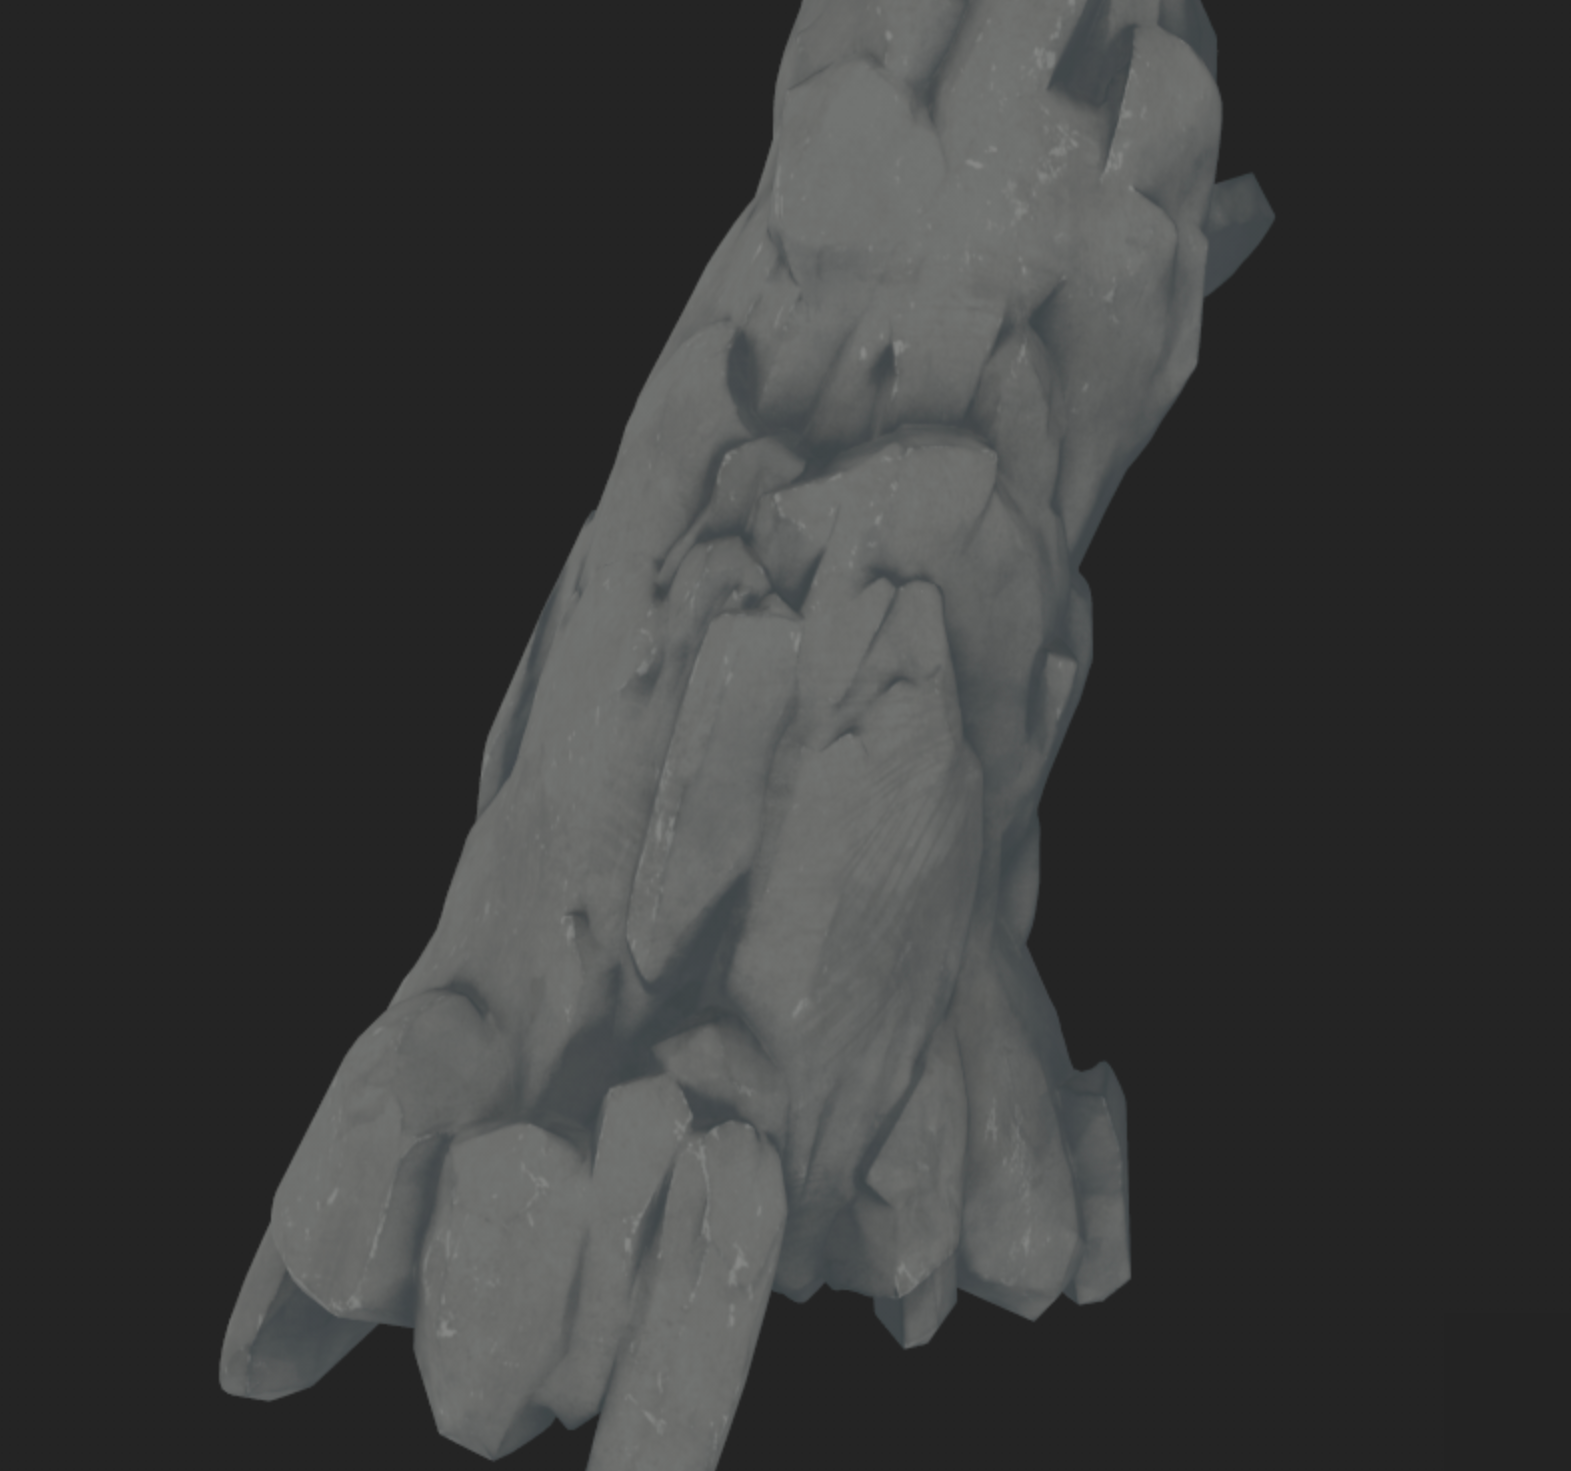
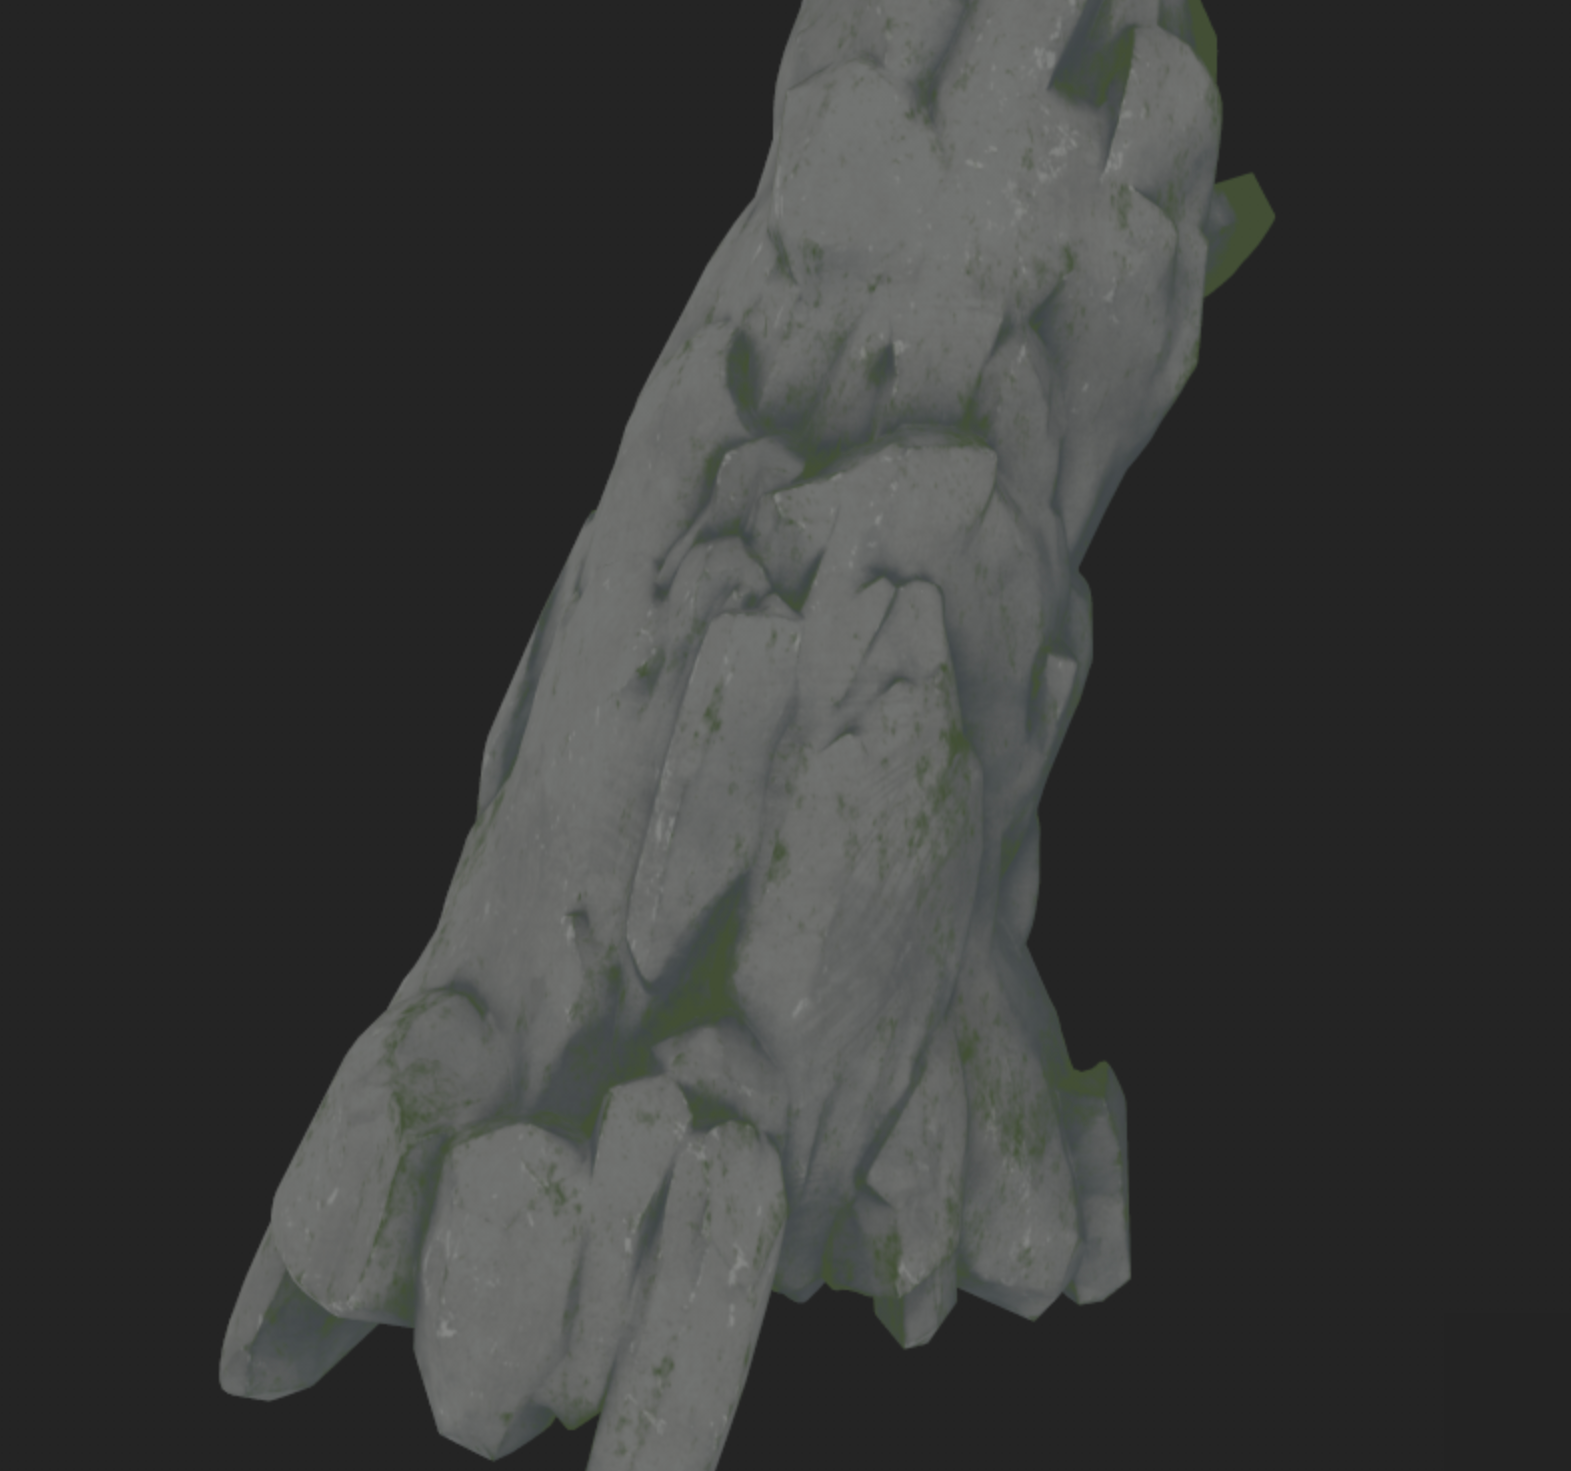
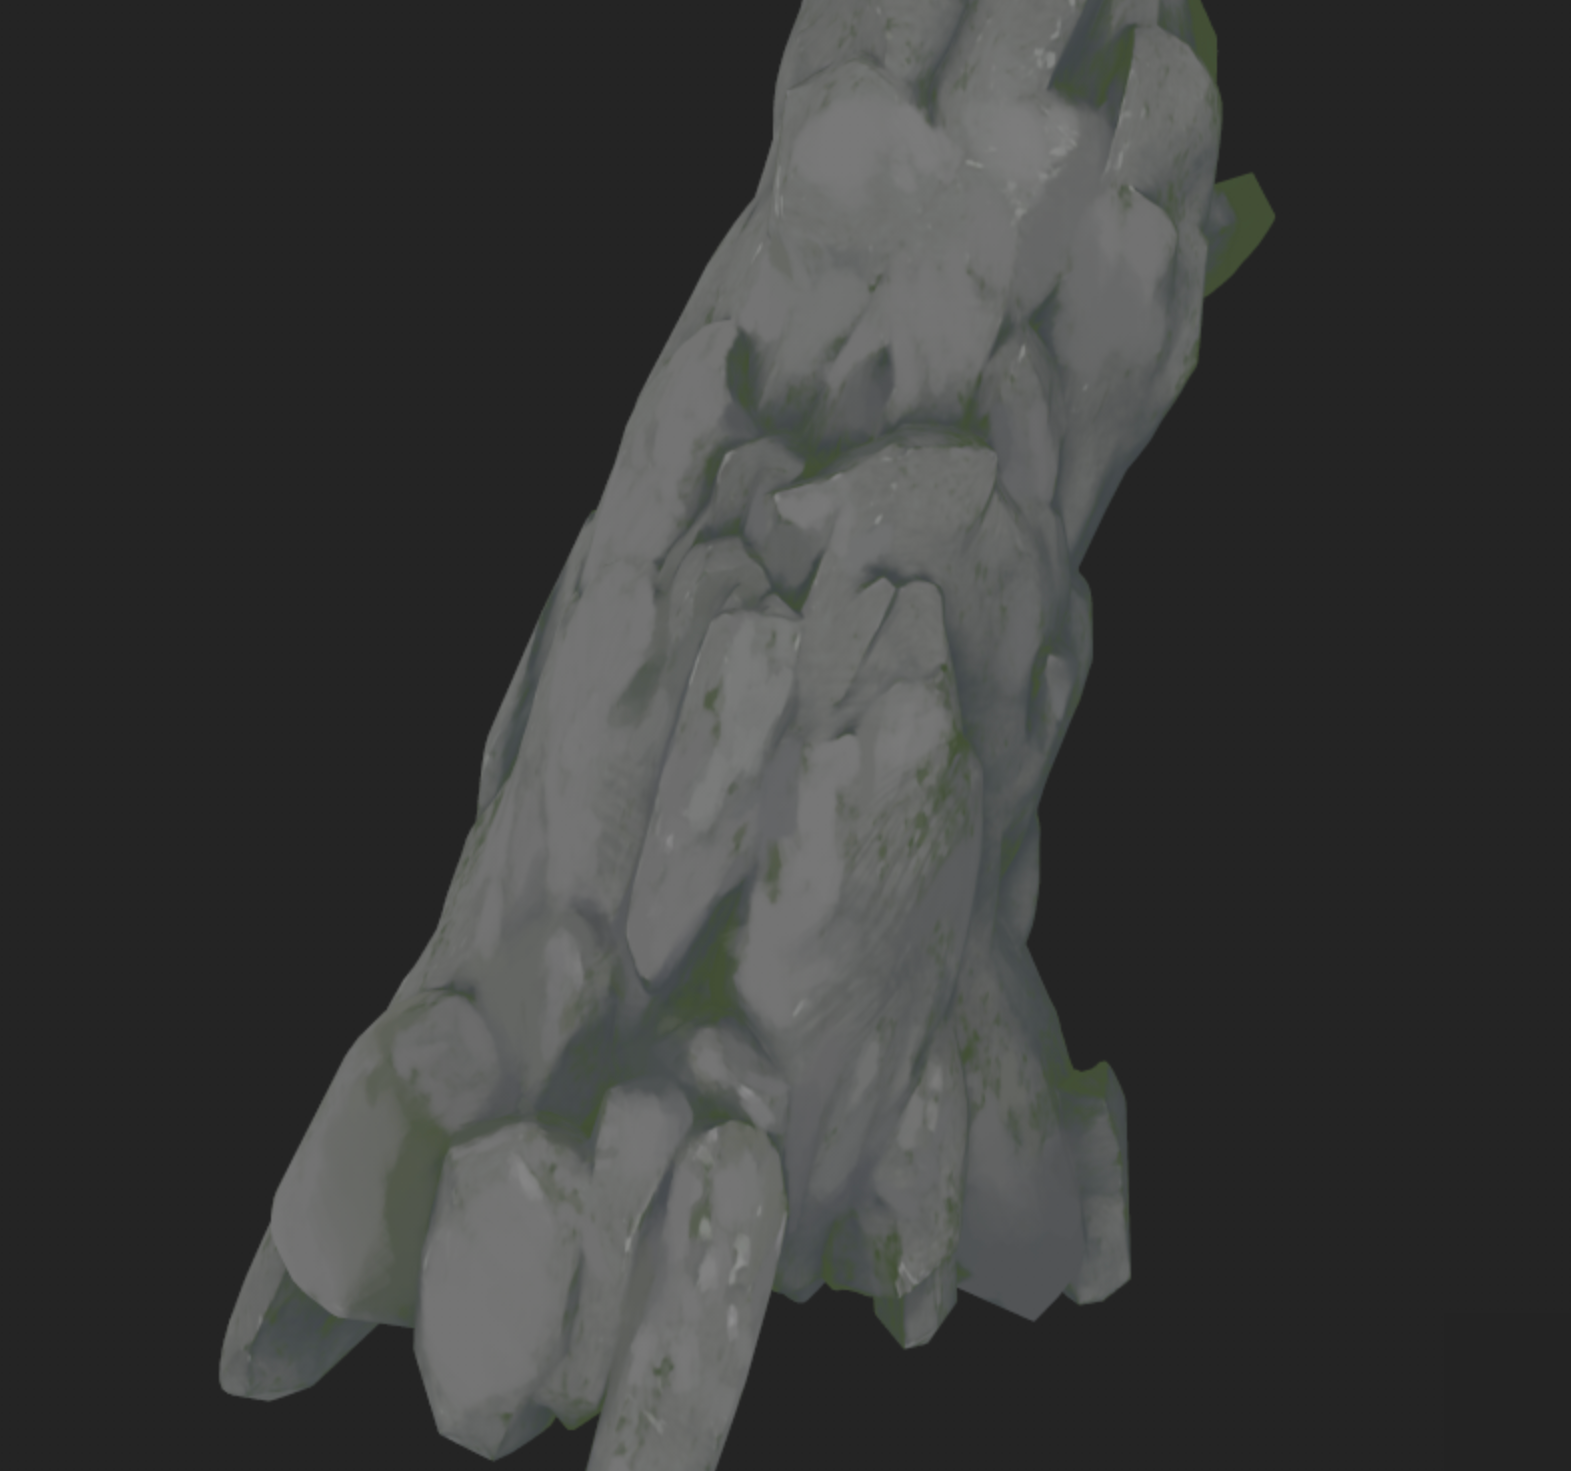
I began the modeling process with the large cliff that Regigigas rests against. This asset took the most time to complete, as I had to experiment extensively with sculpting techniques to achieve the desired level of detail. Finding references was particularly challenging due to the cliff’s unusual shape and the fact that, even in the concept art, much of it is obscured by foliage.
To approach this, I first blocked out the form using simple shapes, then gradually sculpted rocky details across each section until the full model was complete. The resulting high-poly mesh was extremely dense, to the point that my laptop couldn’t process it as a single object for retopology. To work around this, I split the cliff into three separate meshes, optimized each one using Blender’s decimate modifier, and baked the high-poly details onto corresponding low-poly versions. I used a similar workflow for the background cliffs in the environment.
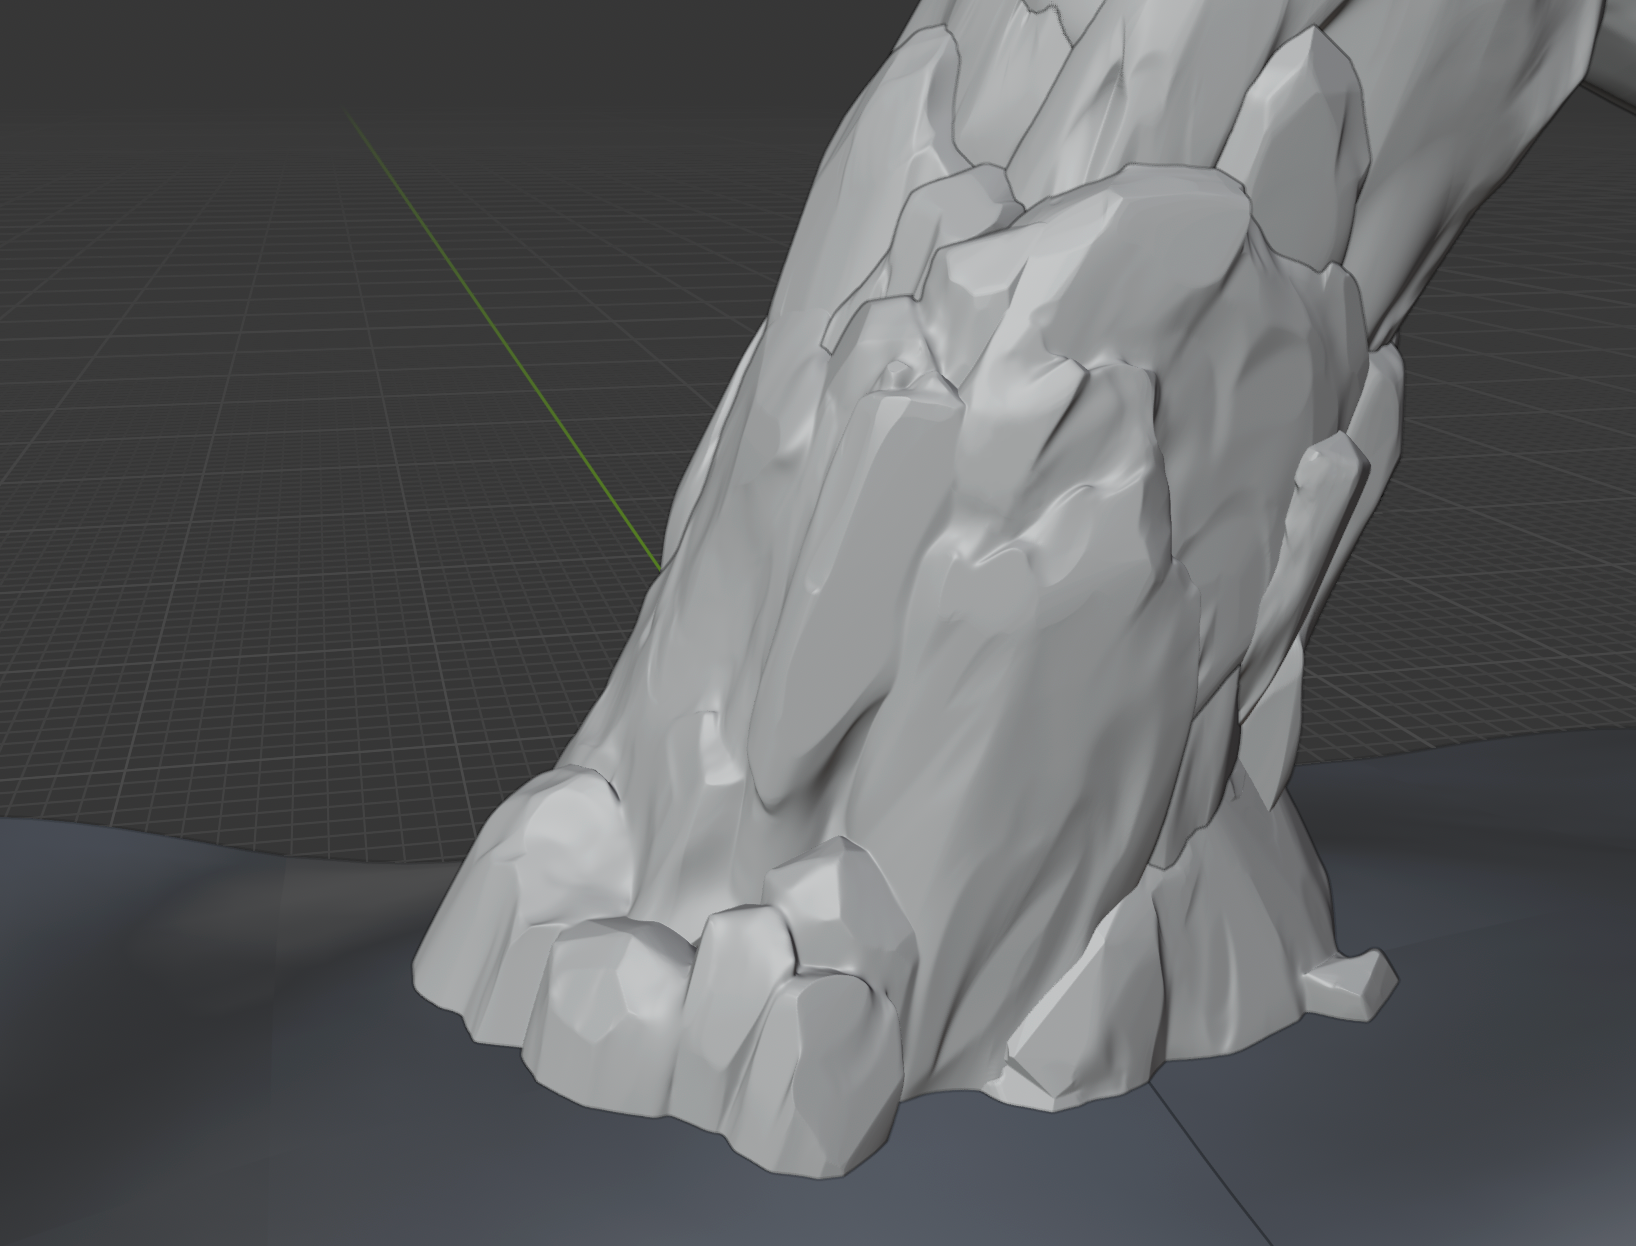
Slanted cliff model in Blender viewport
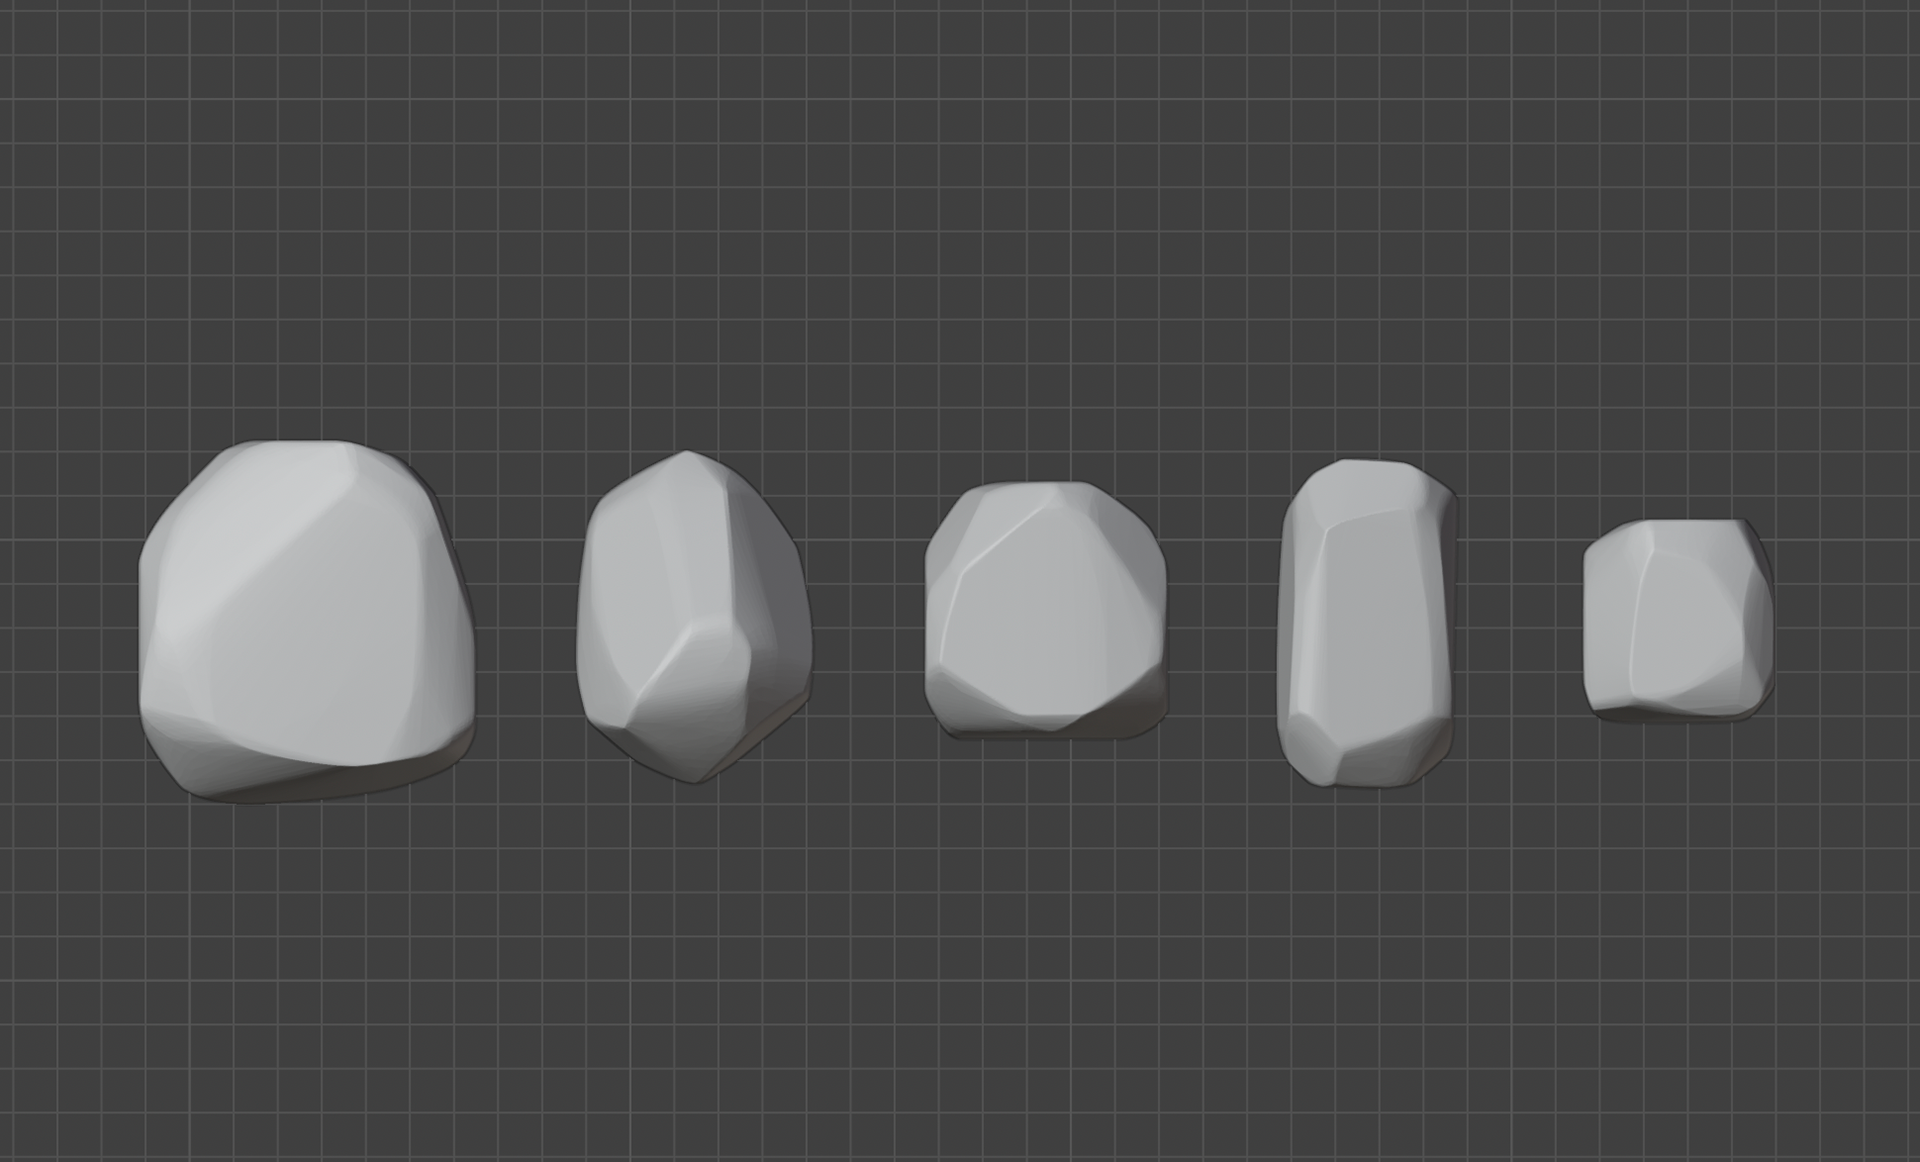
1.) Sculpt simple rock shapes
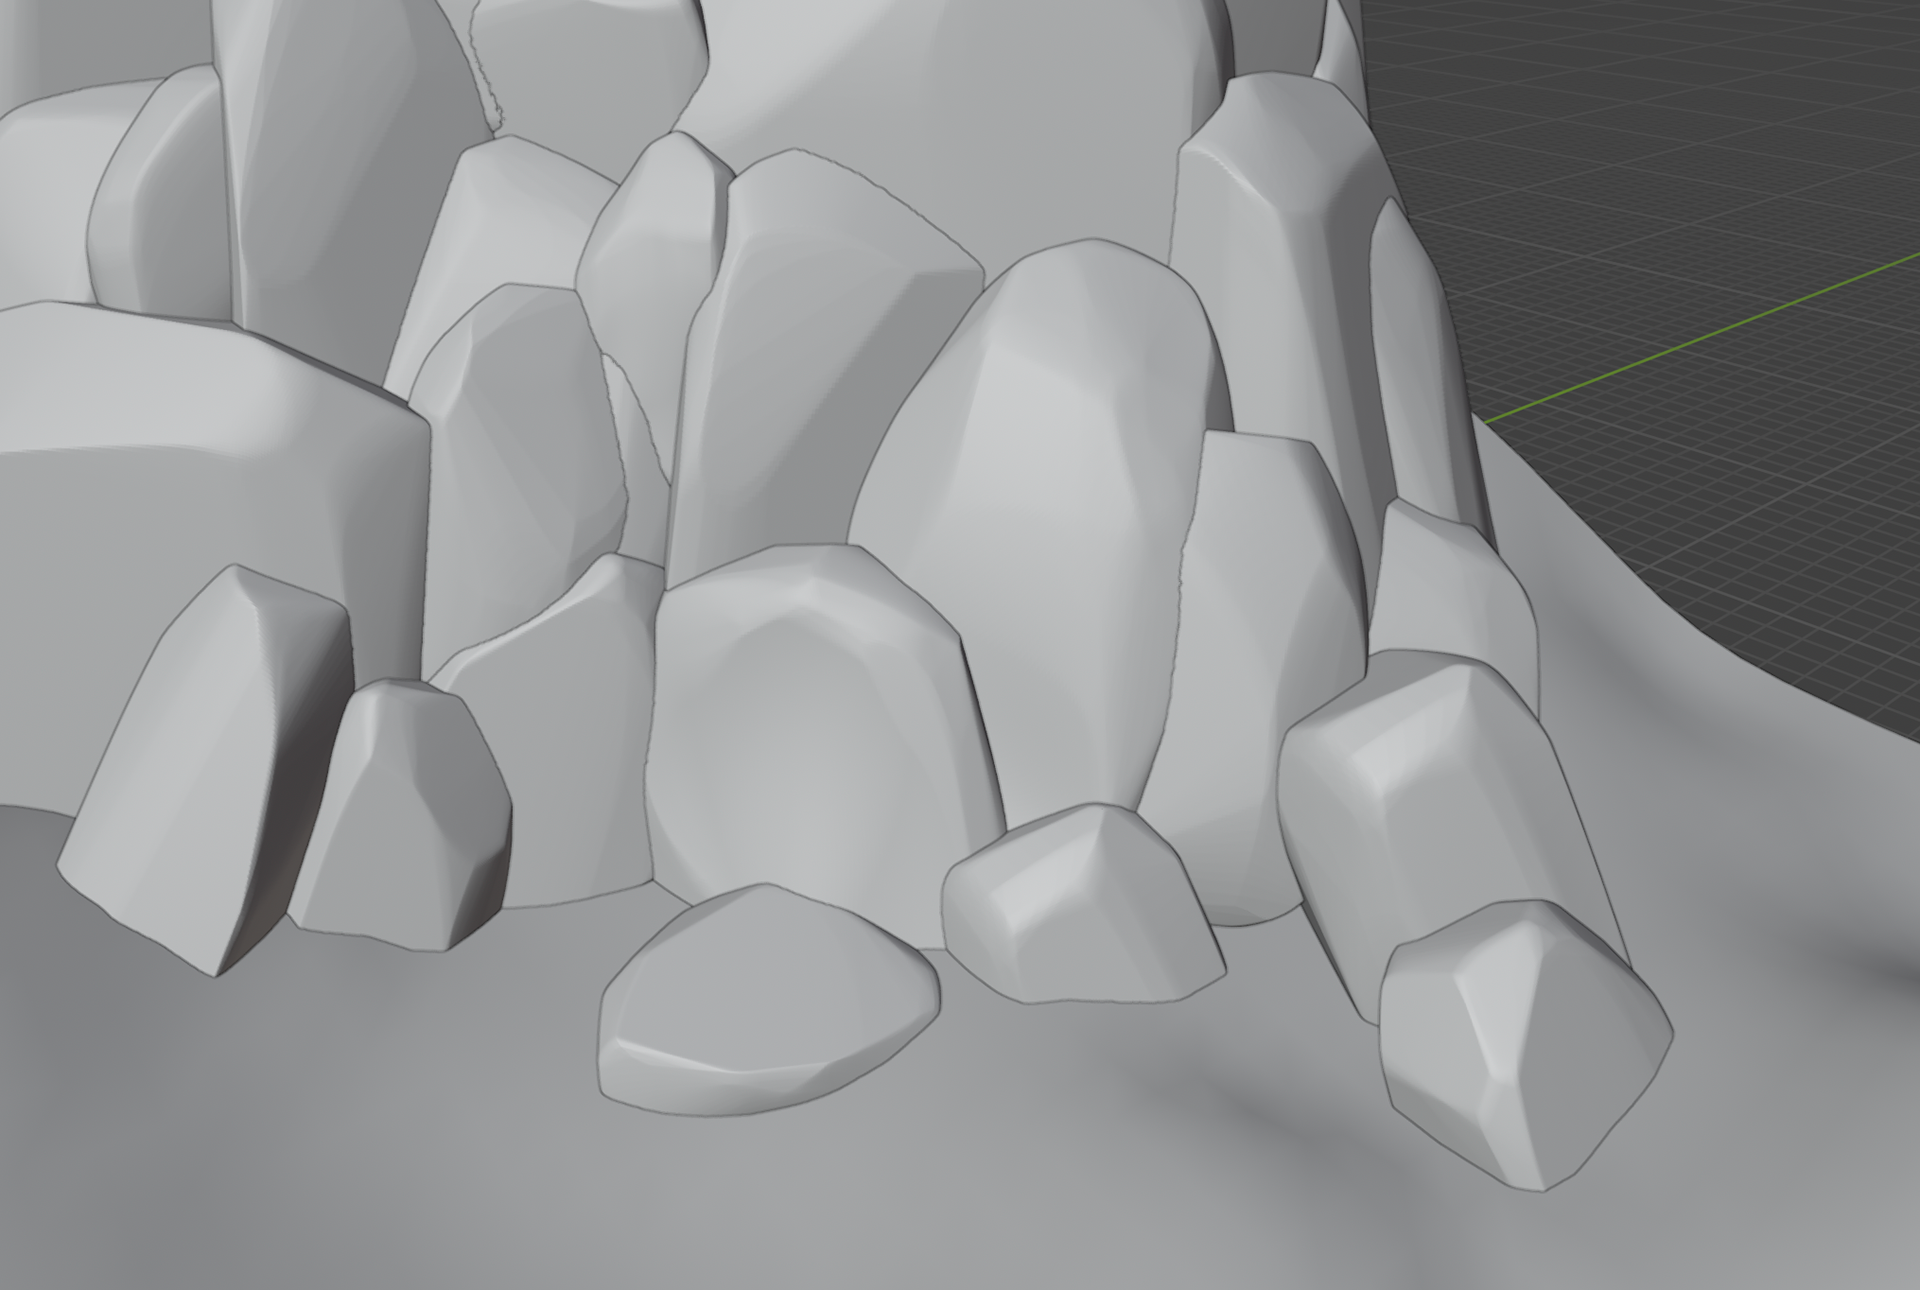
2.) Put them together to create cliff
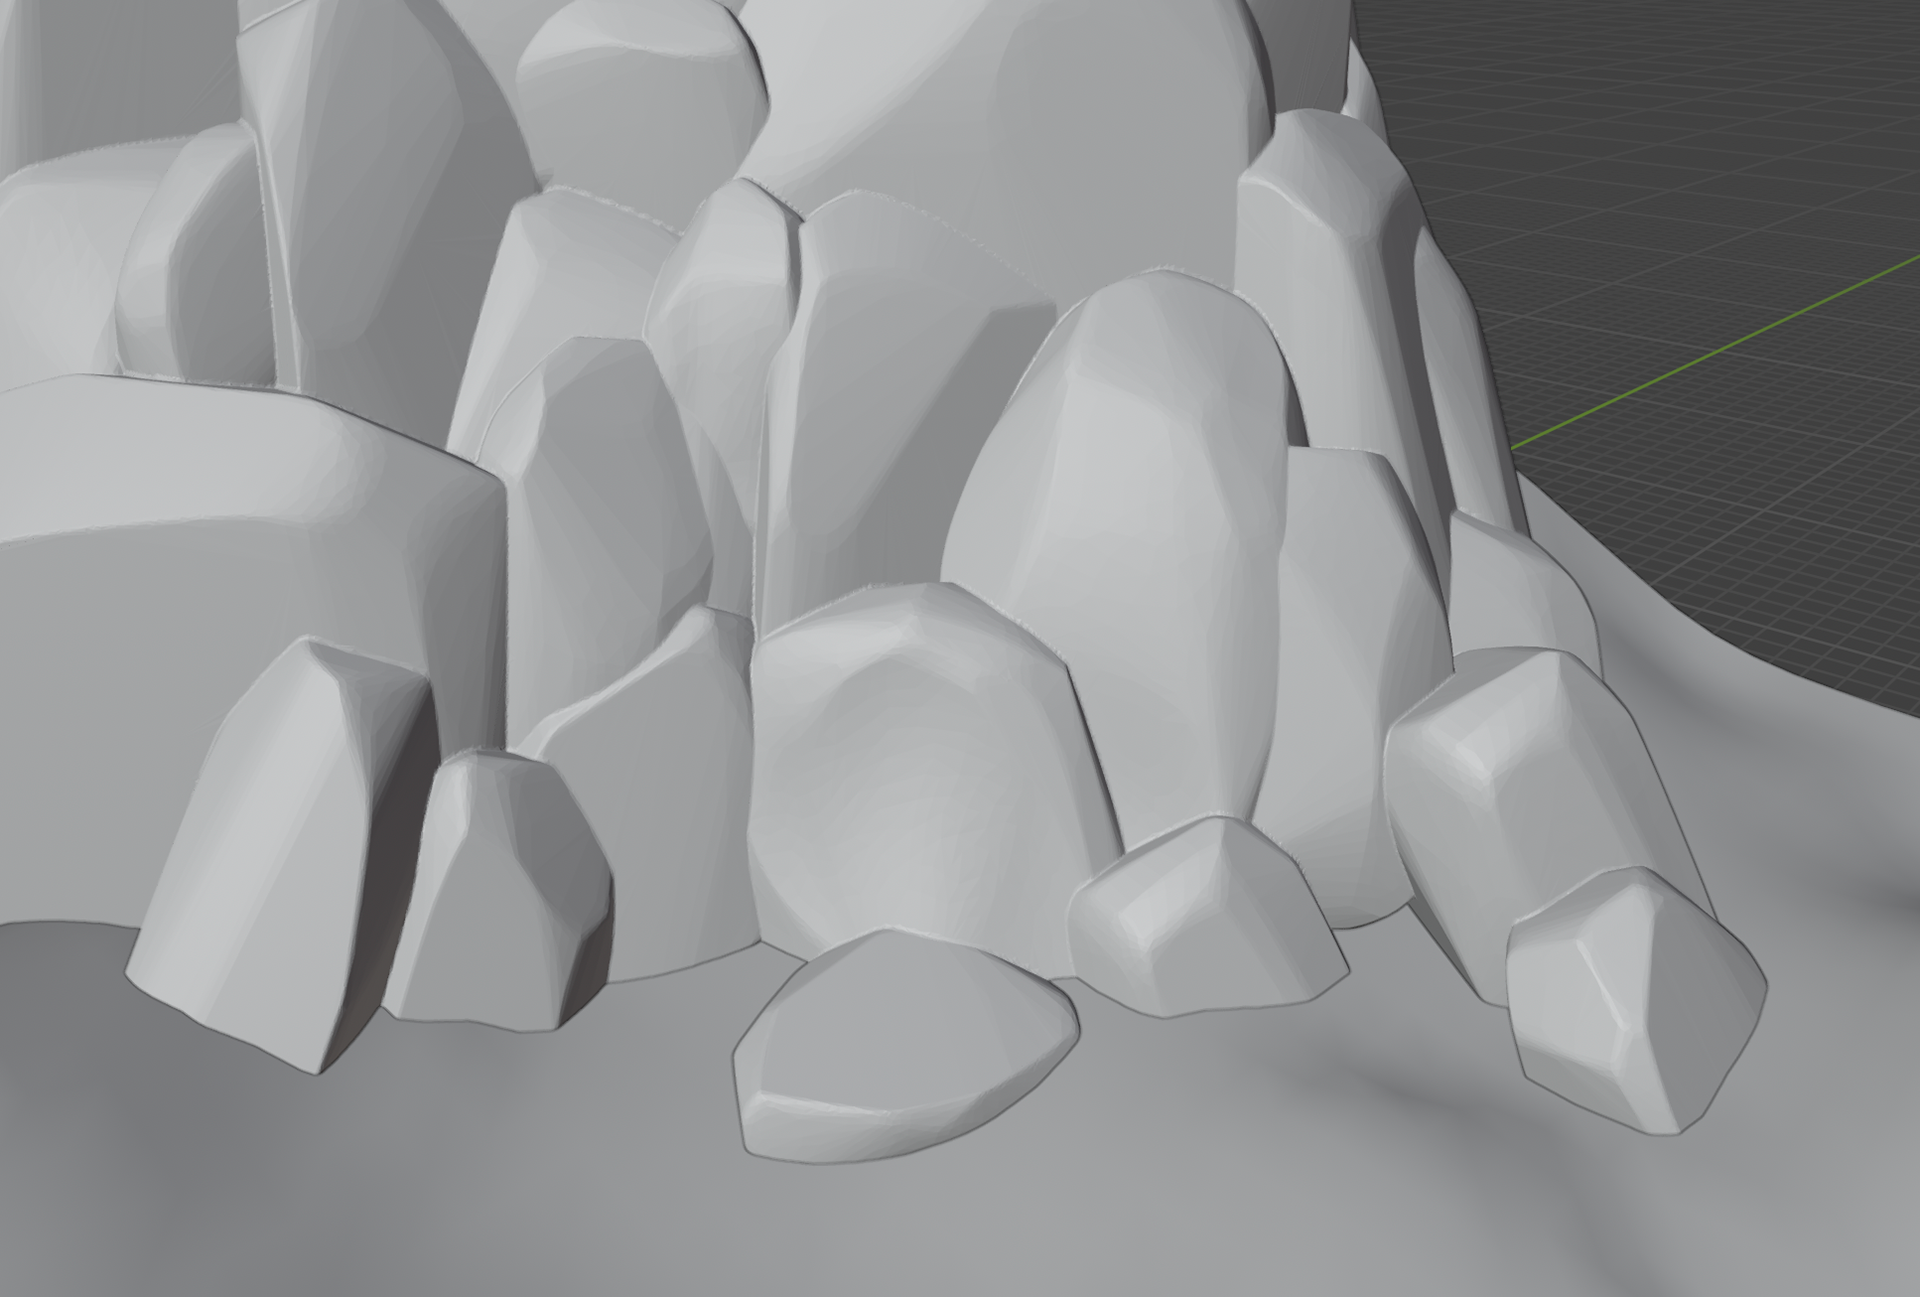
3.) Combine, remesh, and decimate
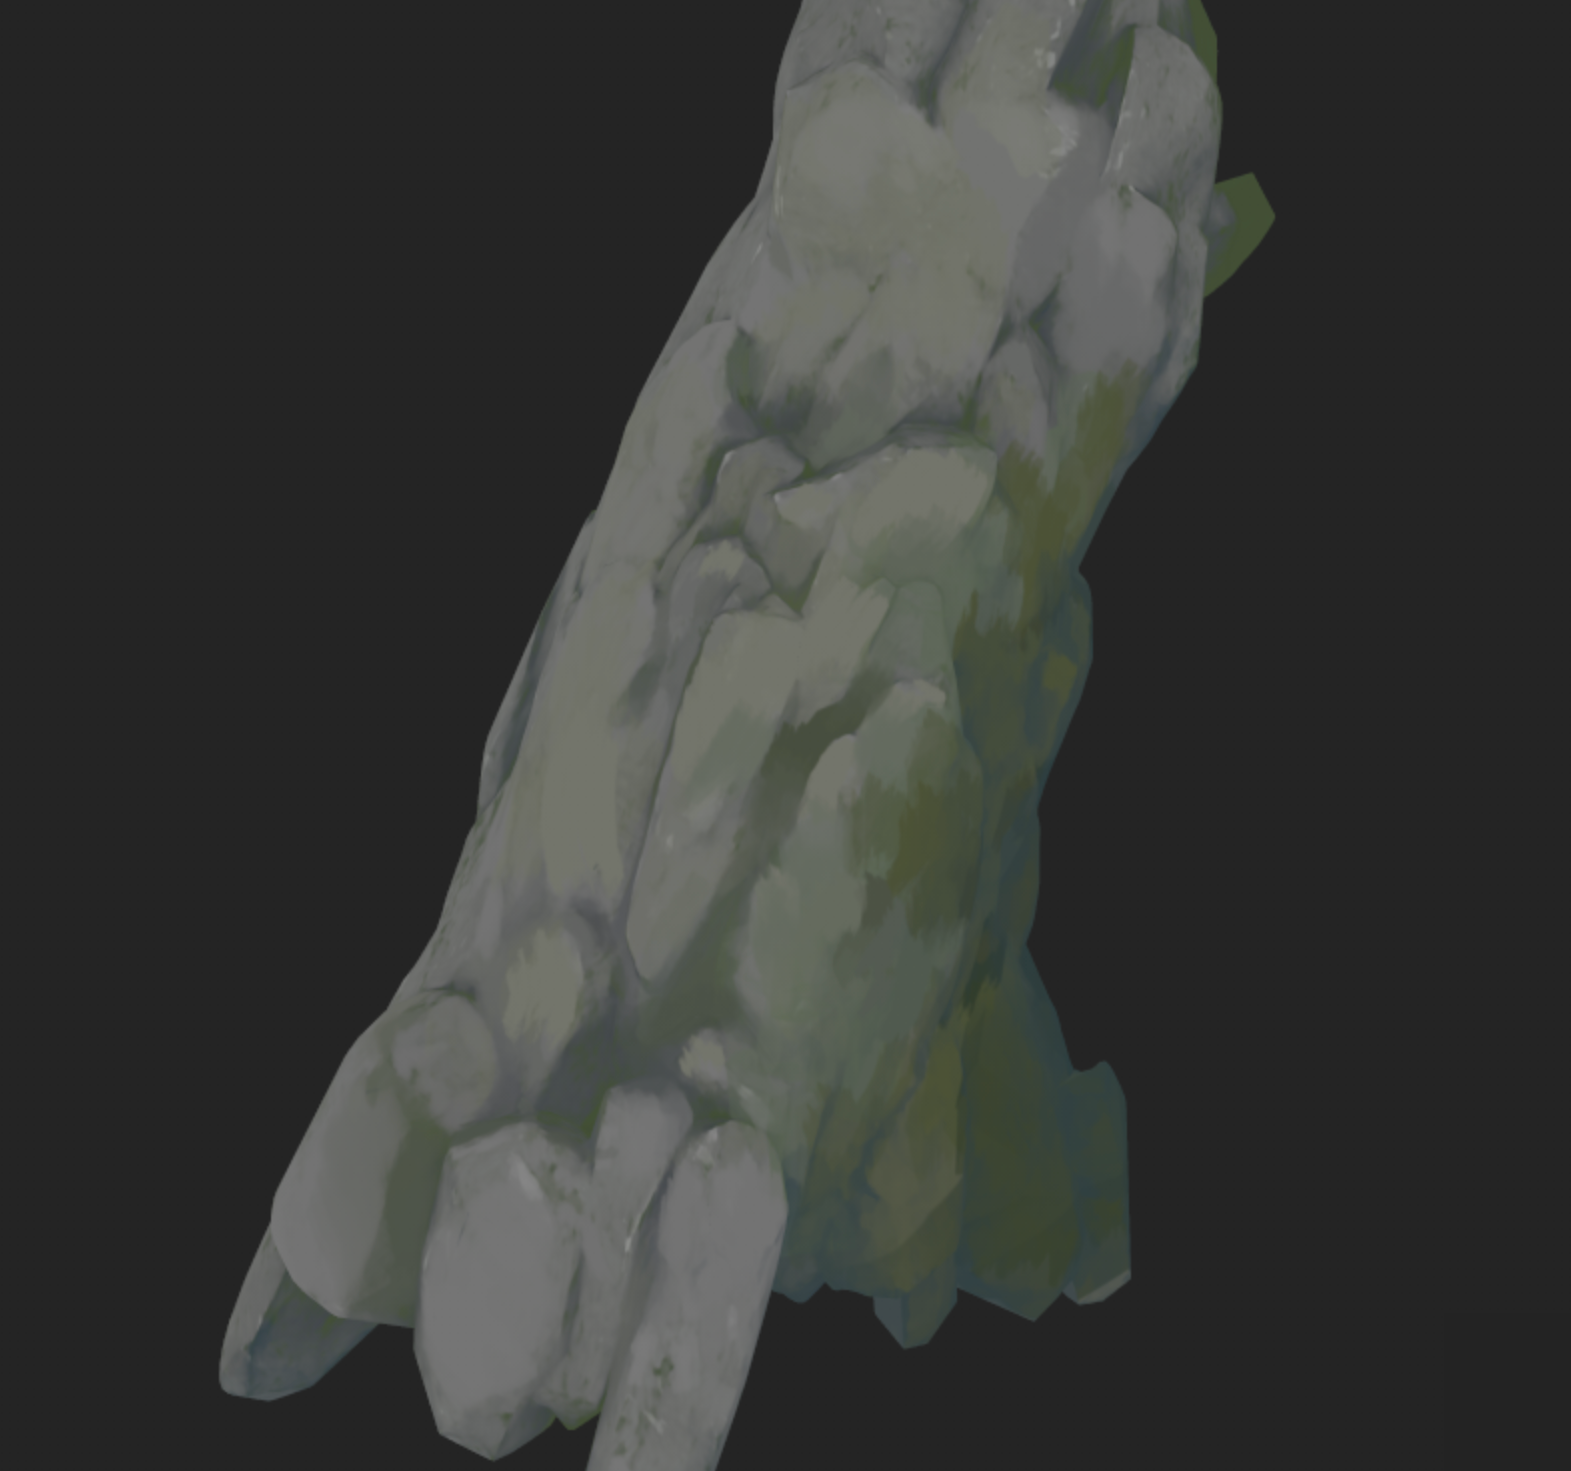
Texturing & Stylization
Next, I imported the cliff models into Substance Painter for surfacing. While I initially intended to complete all the modeling before beginning any texturing, I decided to start surfacing early to ensure the models held up well after baking the high-poly details onto the low-poly versions. This also allowed me to identify any potential issues with the mesh or UVs before investing time in additional assets. Additionally, I wanted to confirm that I could achieve the stylized look I envisioned before progressing further.
For the cliffs, I began by using various masks from the "Iron Forged Old" smart material, which provided strong edge definition and ambient occlusion details. I also incorporated the material’s scratch and dirt textures—even though they aren't entirely realistic for rock surfaces—because they added visual interest and enhanced the stylized aesthetic I was aiming for.
For the foreground rocks, I created a custom smart material that incorporated baked lighting using Substance Painter’s Light Generator, layered with noise textures and multiple Blur Slope filters. After applying this base material, I added hand-painted details using the “Archive Inker” and “Cubist 2” brushes. These two brushes became my primary tools for painting stylized accents across all the surfaces in my project.
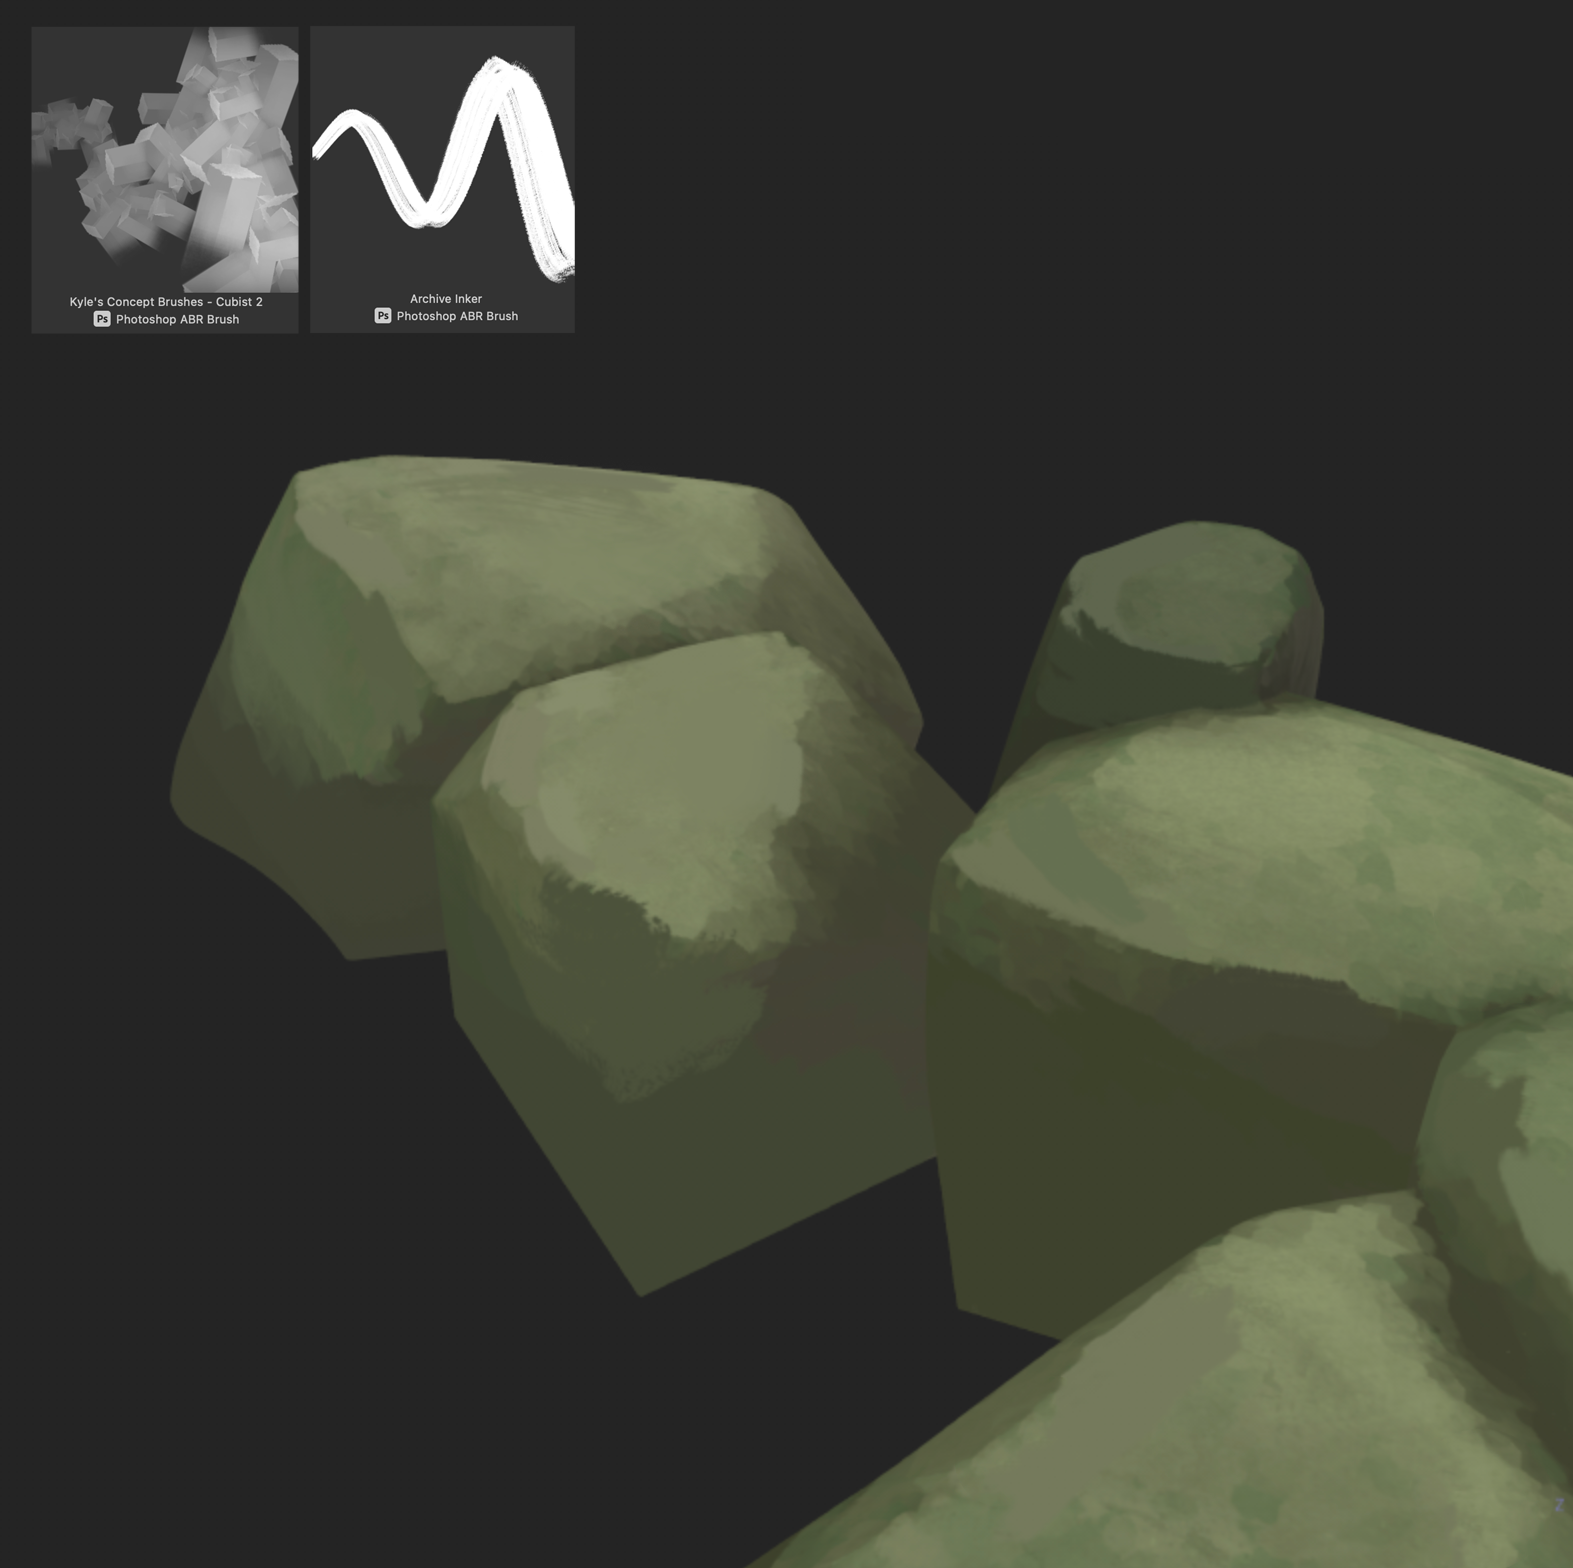
Foreground rocks with smart material and hand-painted details in Substance Painter

1.) Base color
2.) Dirt mask

3.) Edge details
4.) Ambient Occlusion
5.) Moss
6.) Hand painted details
7.) Hand painted moss details
To add the foliage/moss details onto the cliff in the back, I created various foliage brushes in Unreal Engine which I could "paint" onto my mesh.
Foliage Painting in Unreal Engine
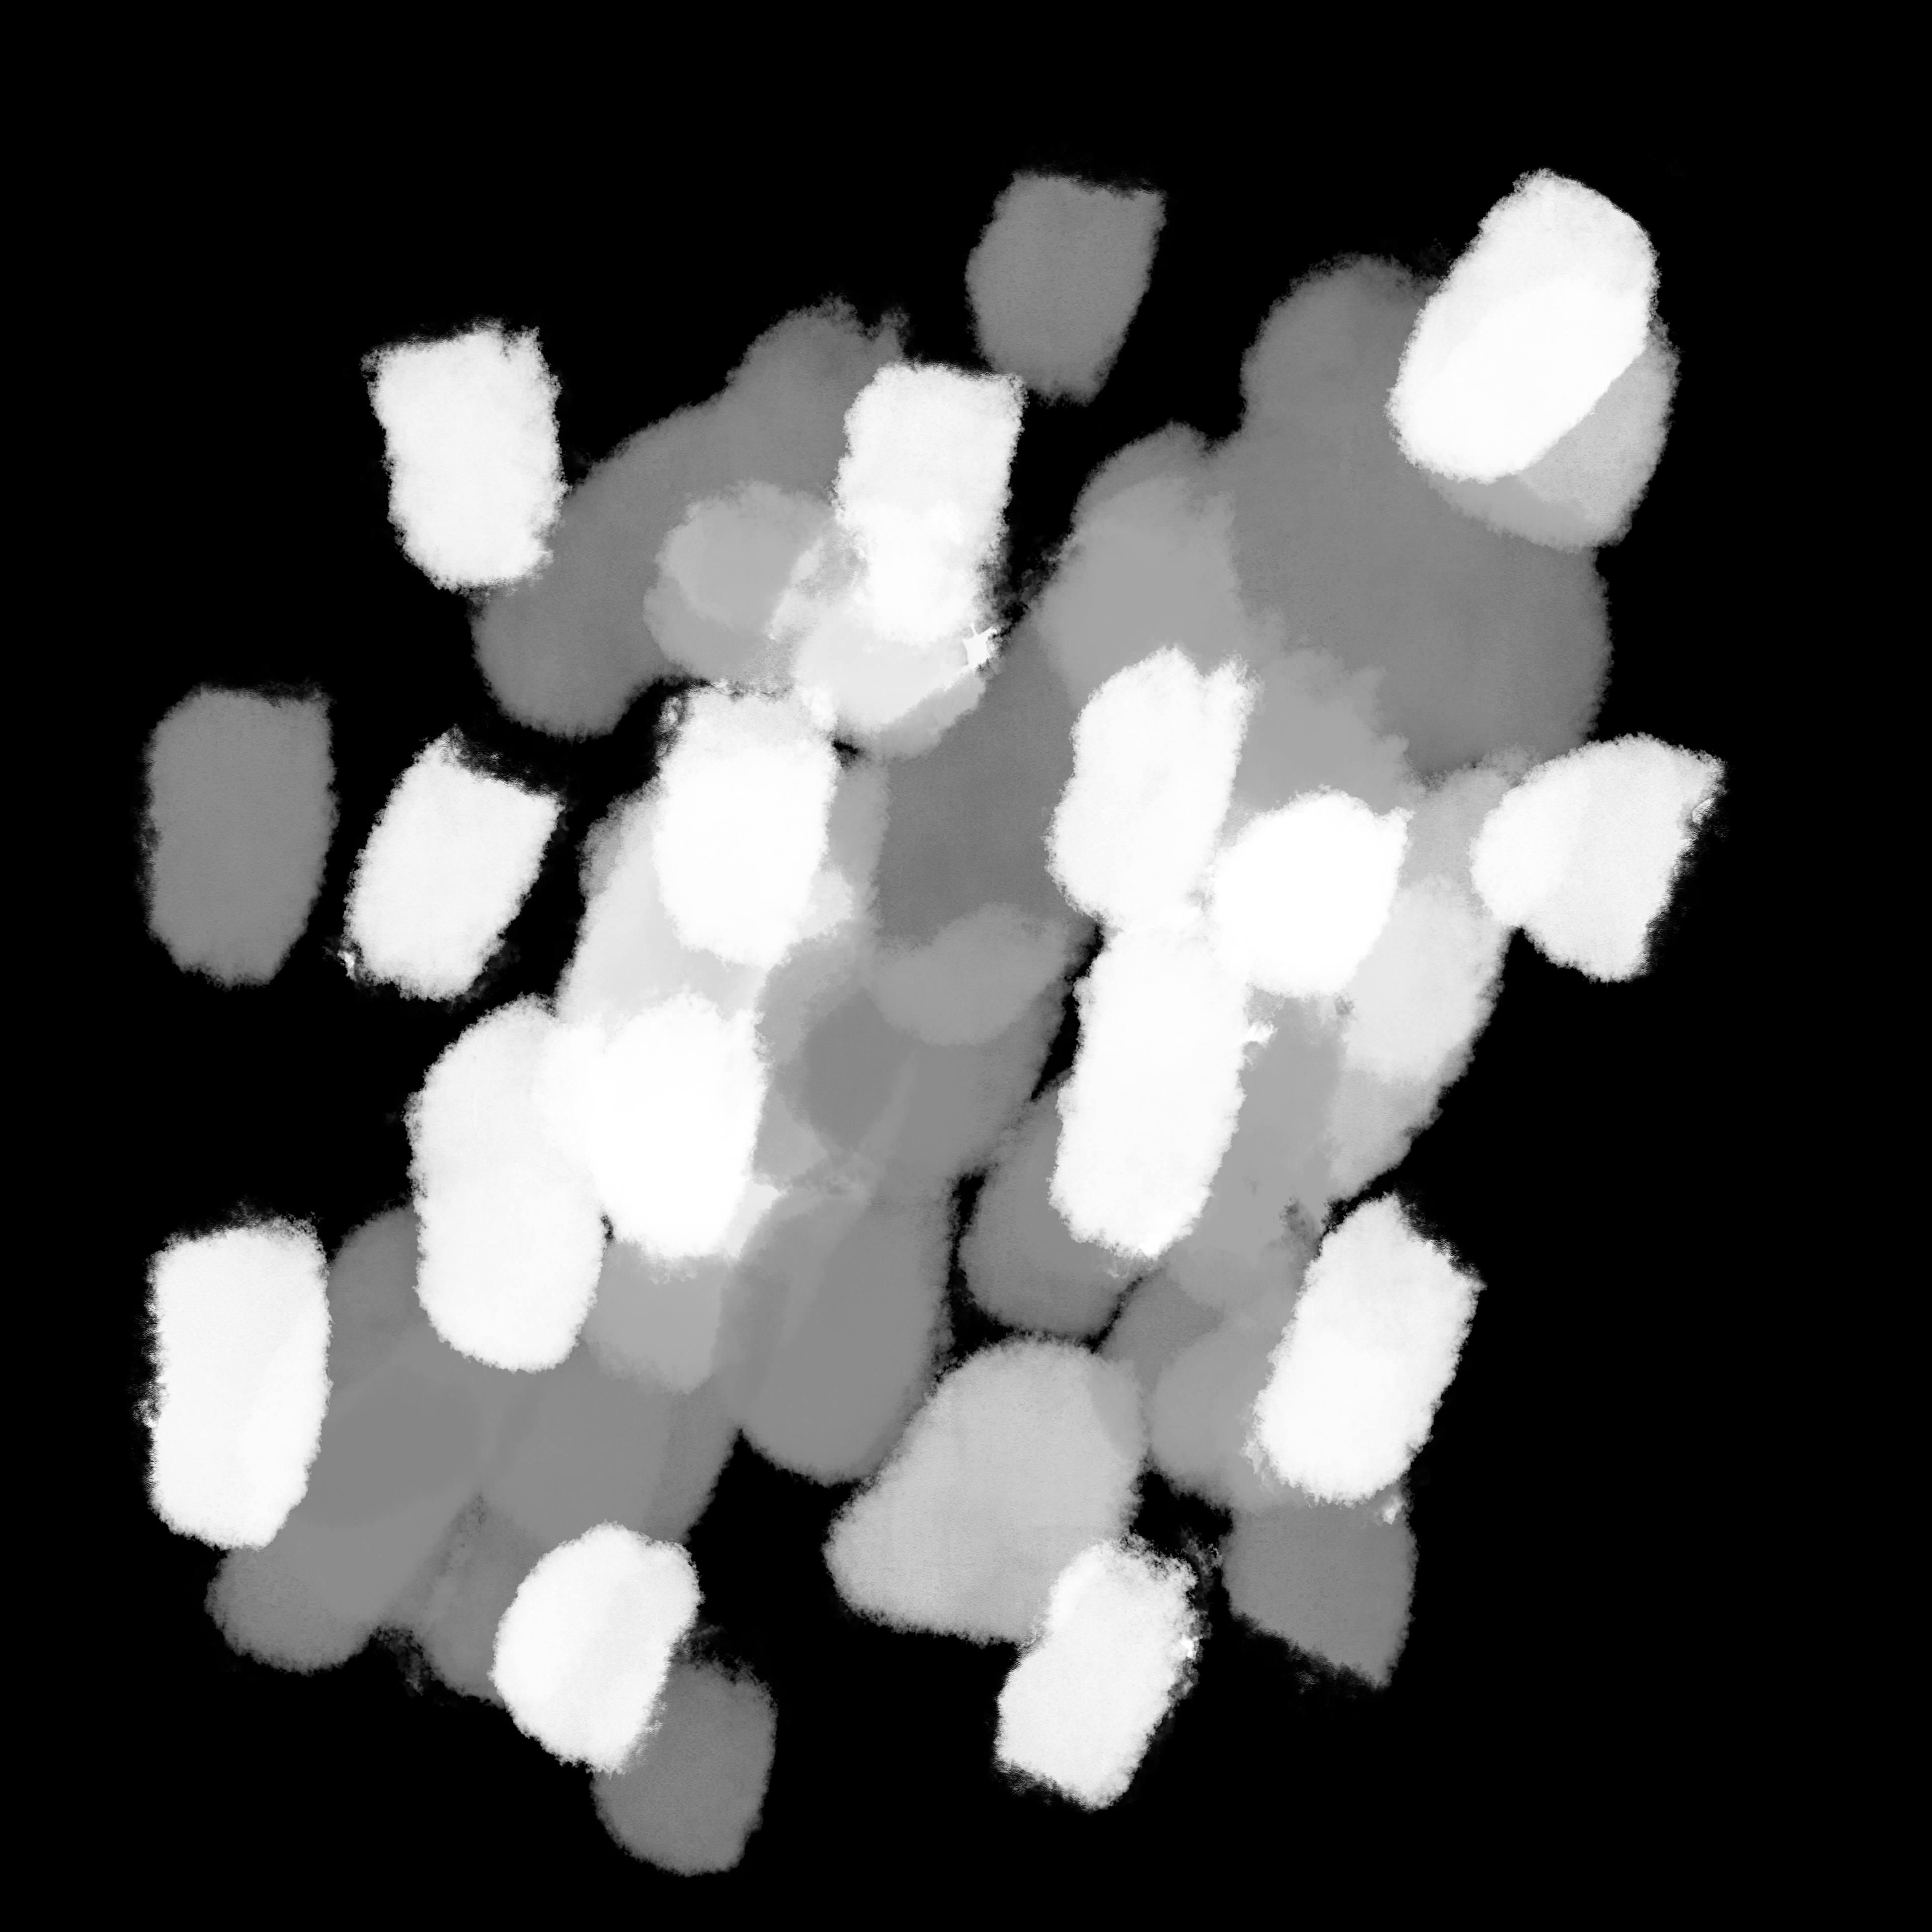
Foliage alpha

Foliage alpha
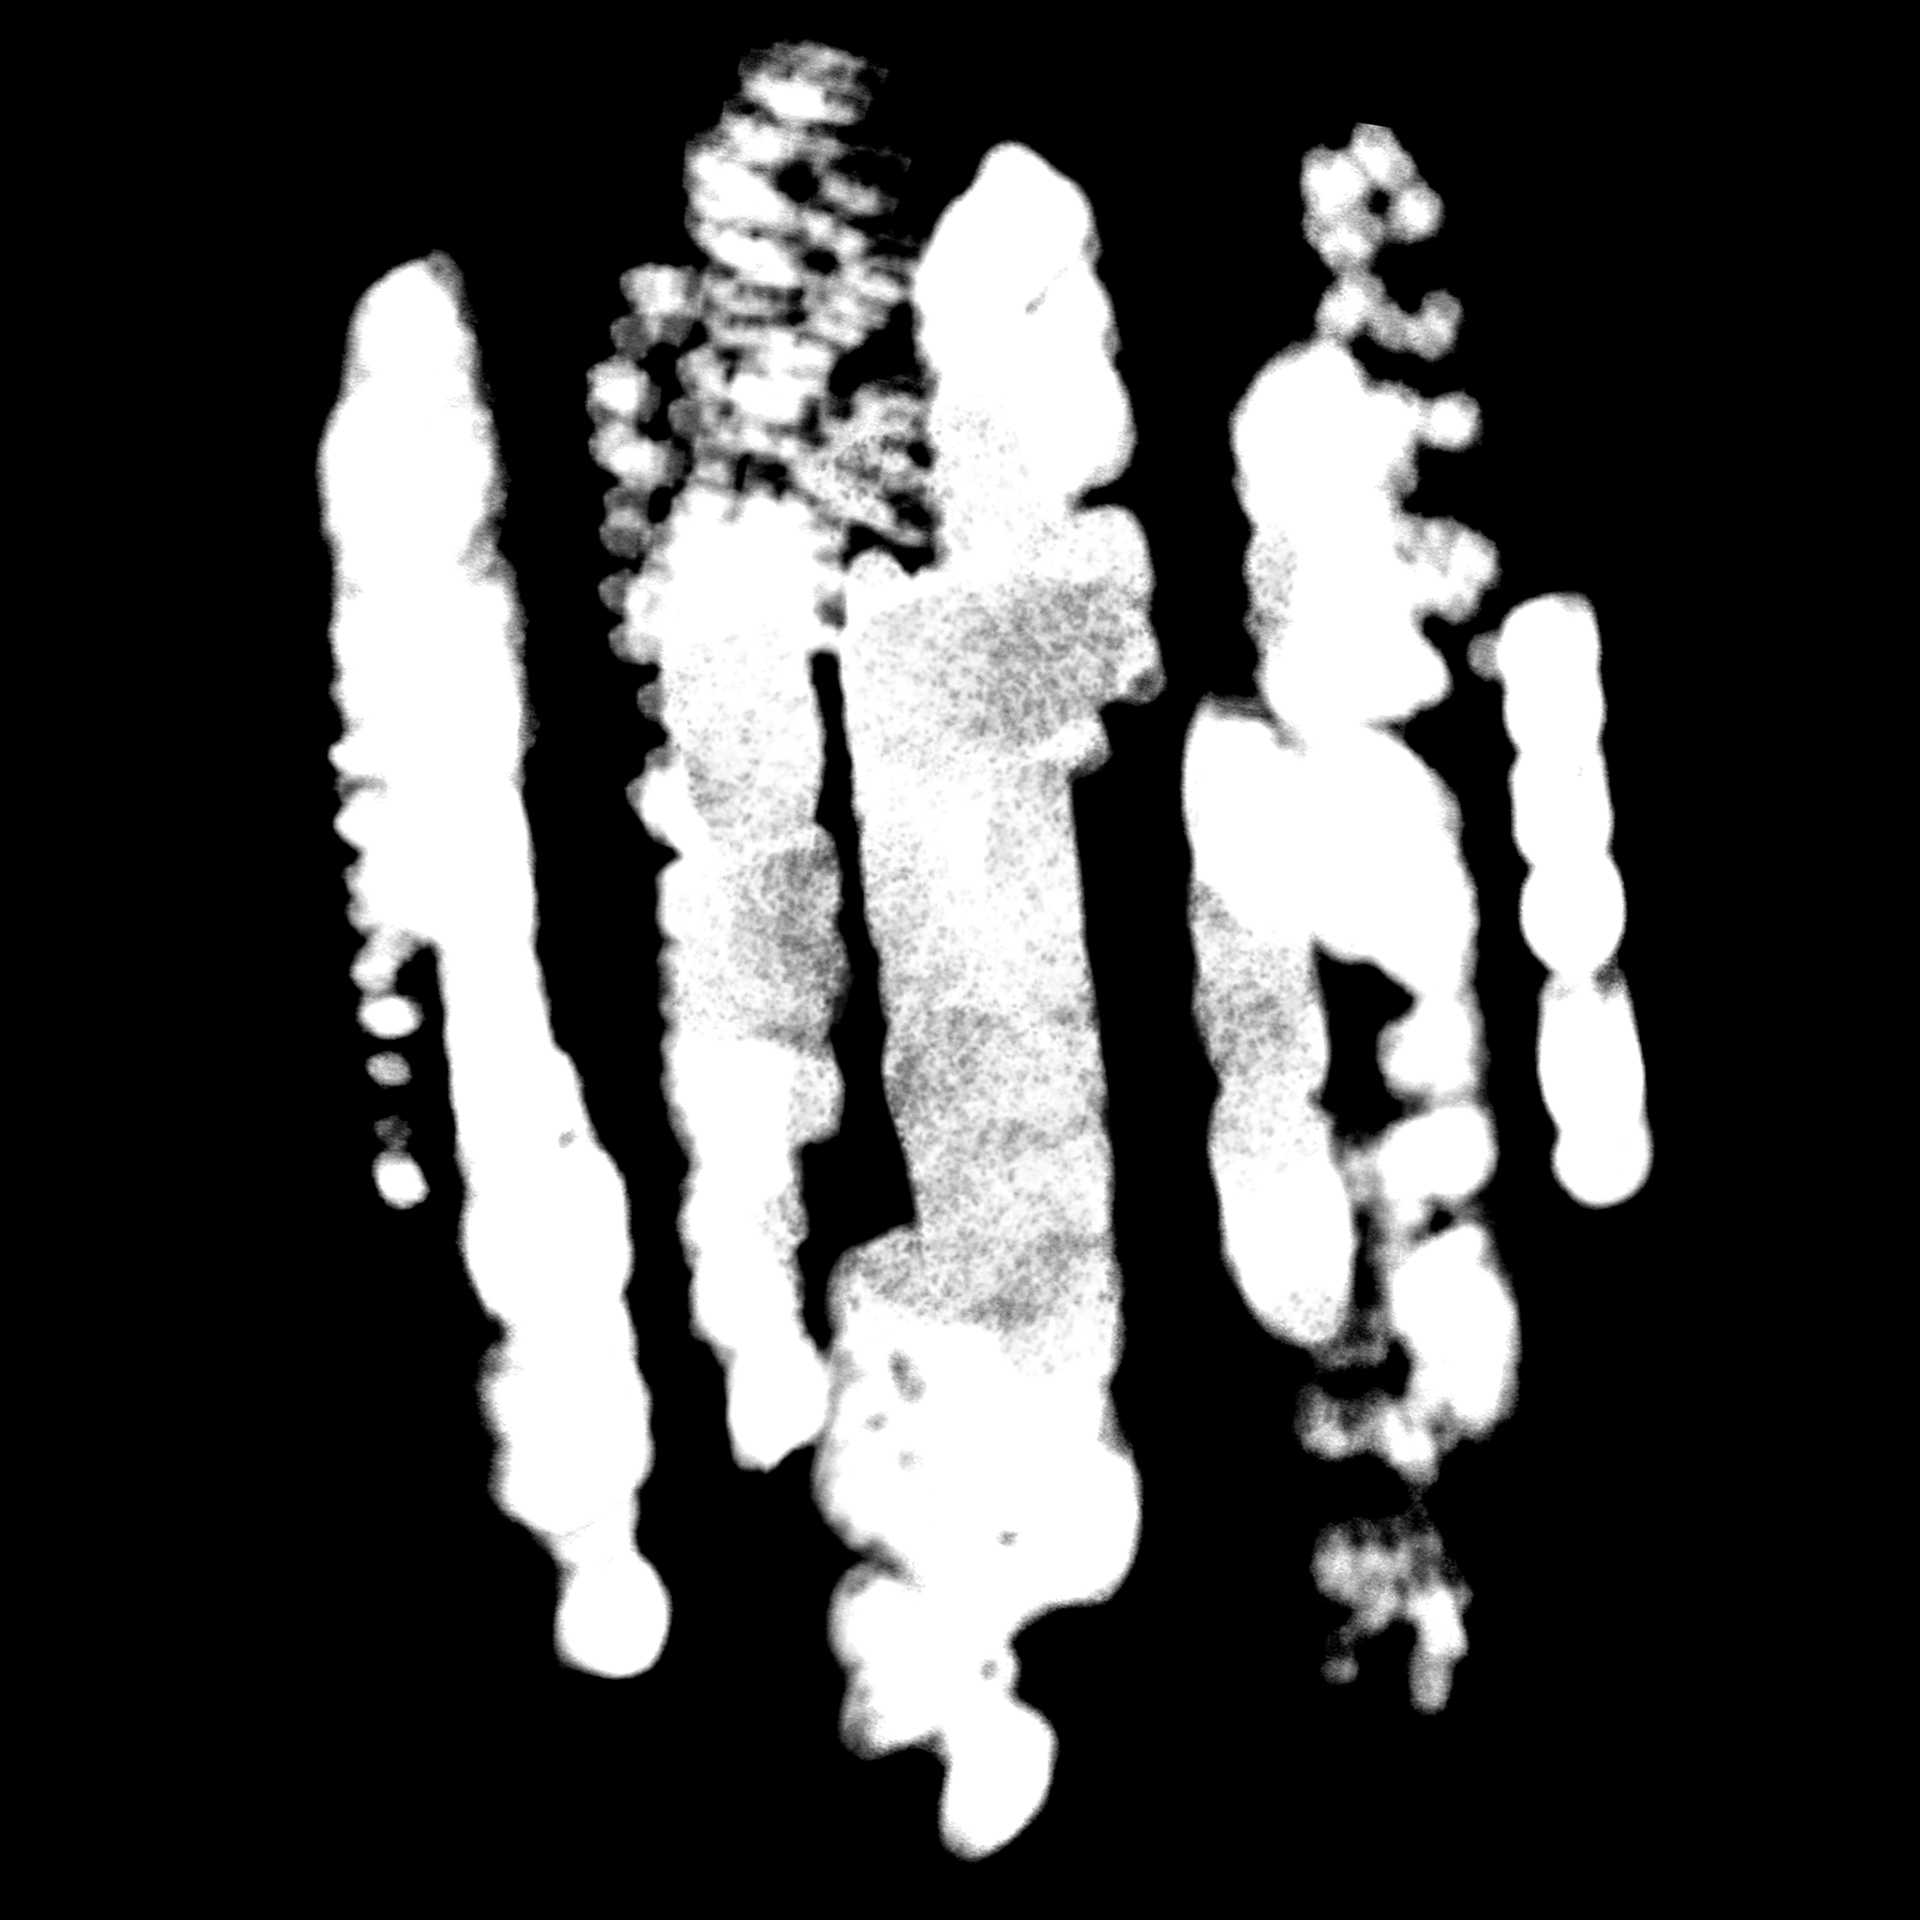
Foliage alpha
Foliage alpha
Landscape & Grass
After modeling and surfacing the cliffs, I moved on to the grass, as it plays a major role in the overall environment and involved more technical setup.
I initially used Unreal Engine’s Runtime Virtual Texture system to allow for flexible landscape painting and for the grass to easily inherit base colors from the terrain. While this approach worked, the result lacked the stylized, painterly quality I was aiming for.
Before - Using runtime virtual texture
I found myself wishing I could just bring my landscape into Substance Painter and paint directly on it using the brushes I was familiar with. Then I thought—why not try? I hadn’t seen anyone else approach it this way, and there weren’t any tutorials available, so I had to figure out the workflow on my own. The two main challenges I faced were: how to export my existing landscape texture from Unreal Engine as a usable map for Substance Painter, and how to make sure the grass could still inherit base colors from the terrain without relying on a Runtime Virtual Texture.
To get around this, I used a Scene Capture 2D actor in Unreal, which I’d never worked with before. It functions like a camera but outputs a 2D render target, which I used to create a base color map of my landscape. Once I had that, I exported the landscape streaming proxies as a mesh and brought both the mesh and base color into Substance Painter. From there, I was finally able to hand-paint directly onto the terrain using my favorite brushes.
After finishing the texture, I imported it back into Unreal and created a new material for the grass foliage. Instead of using a Runtime Virtual Texture, I used the World Position node to sample the base color map, masking the X and Y components and adjusting the placement with parameters to align everything correctly. This allowed the grass to inherit colors from the newly painted landscape texture, giving me the stylized look I wanted while maintaining technical flexibility.
After - Using hand-painted texture map
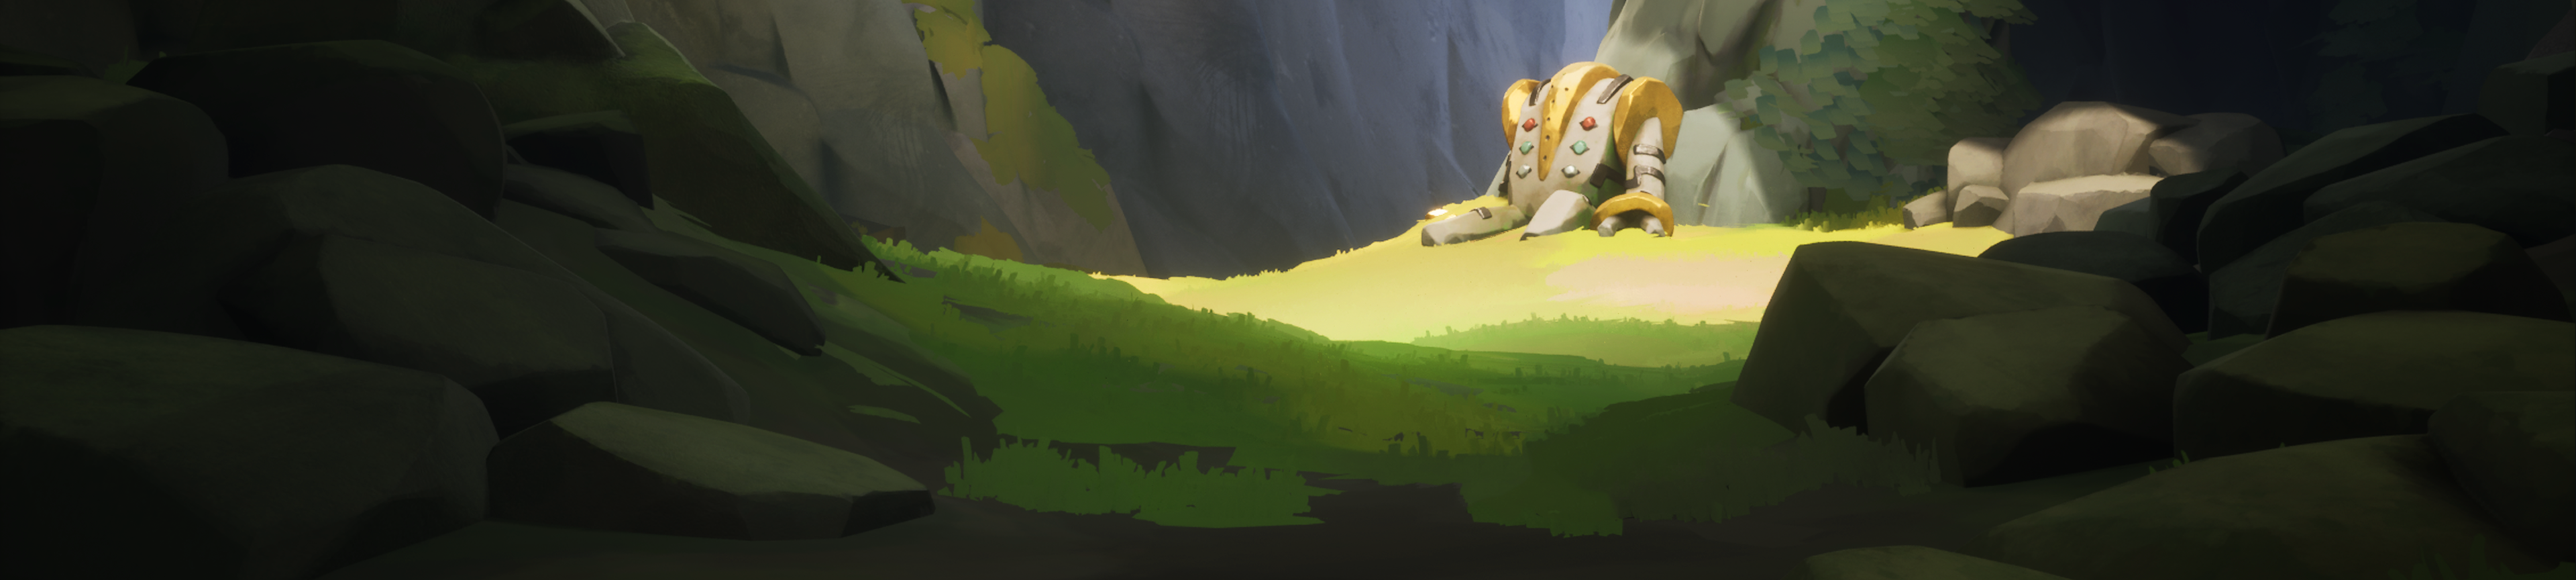
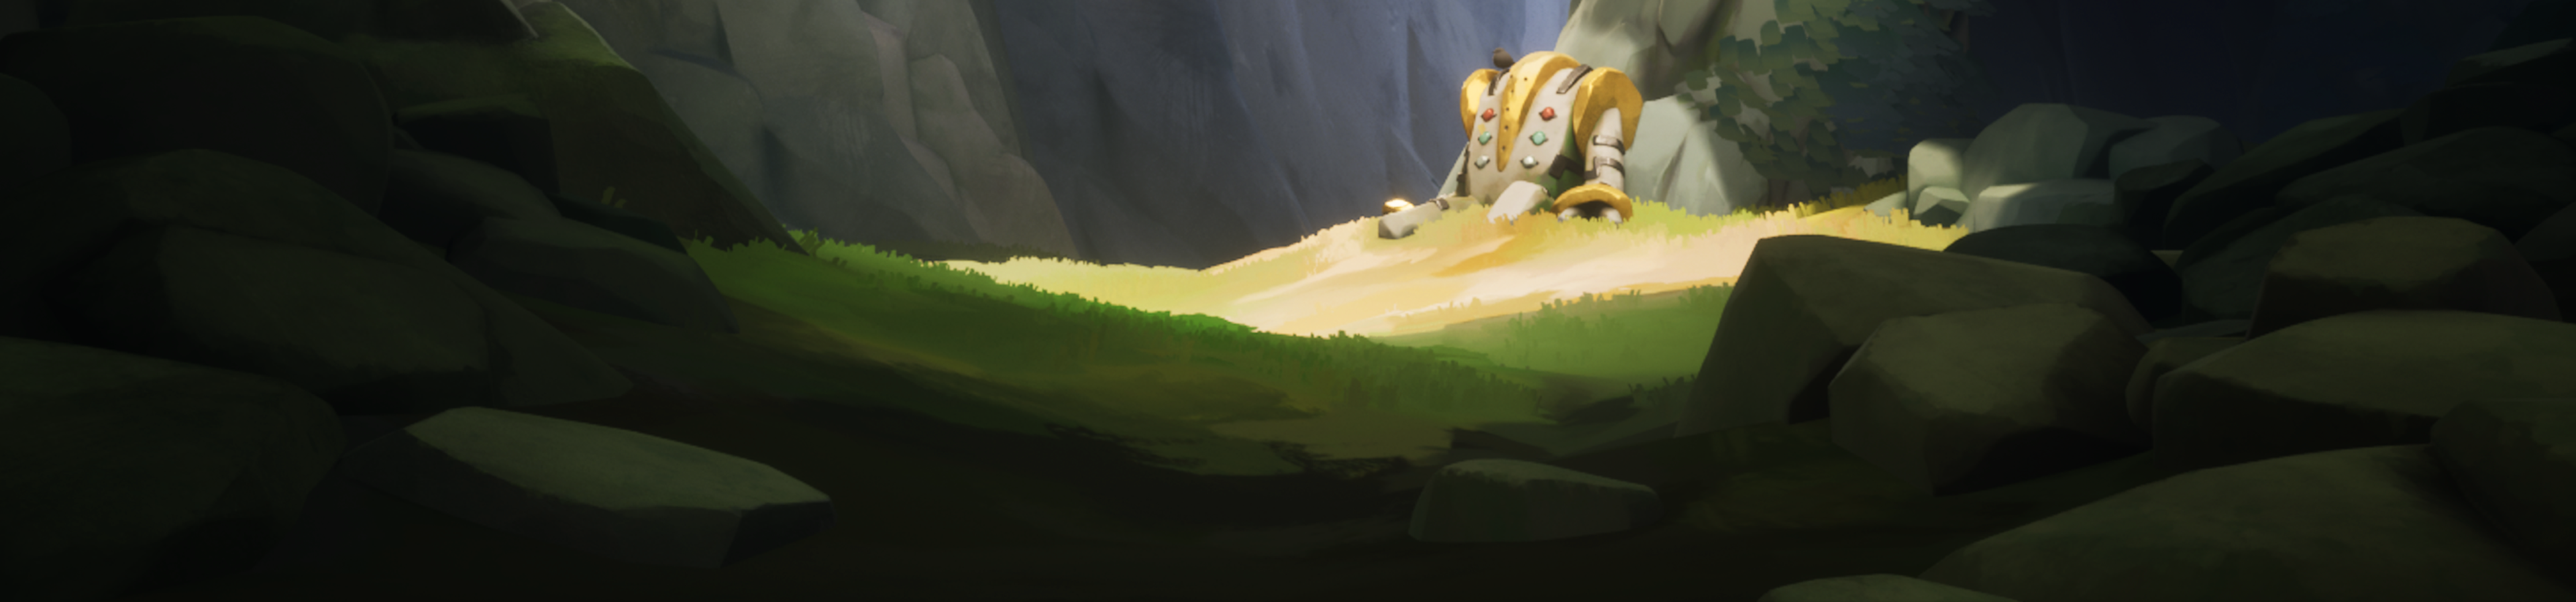
To add a bit more life to the grass, I created a stylized wind highlight effect. I used a panner node in Unreal to animate a subtle highlight sweeping across the grassy areas, mimicking the look of wind moving through the landscape.
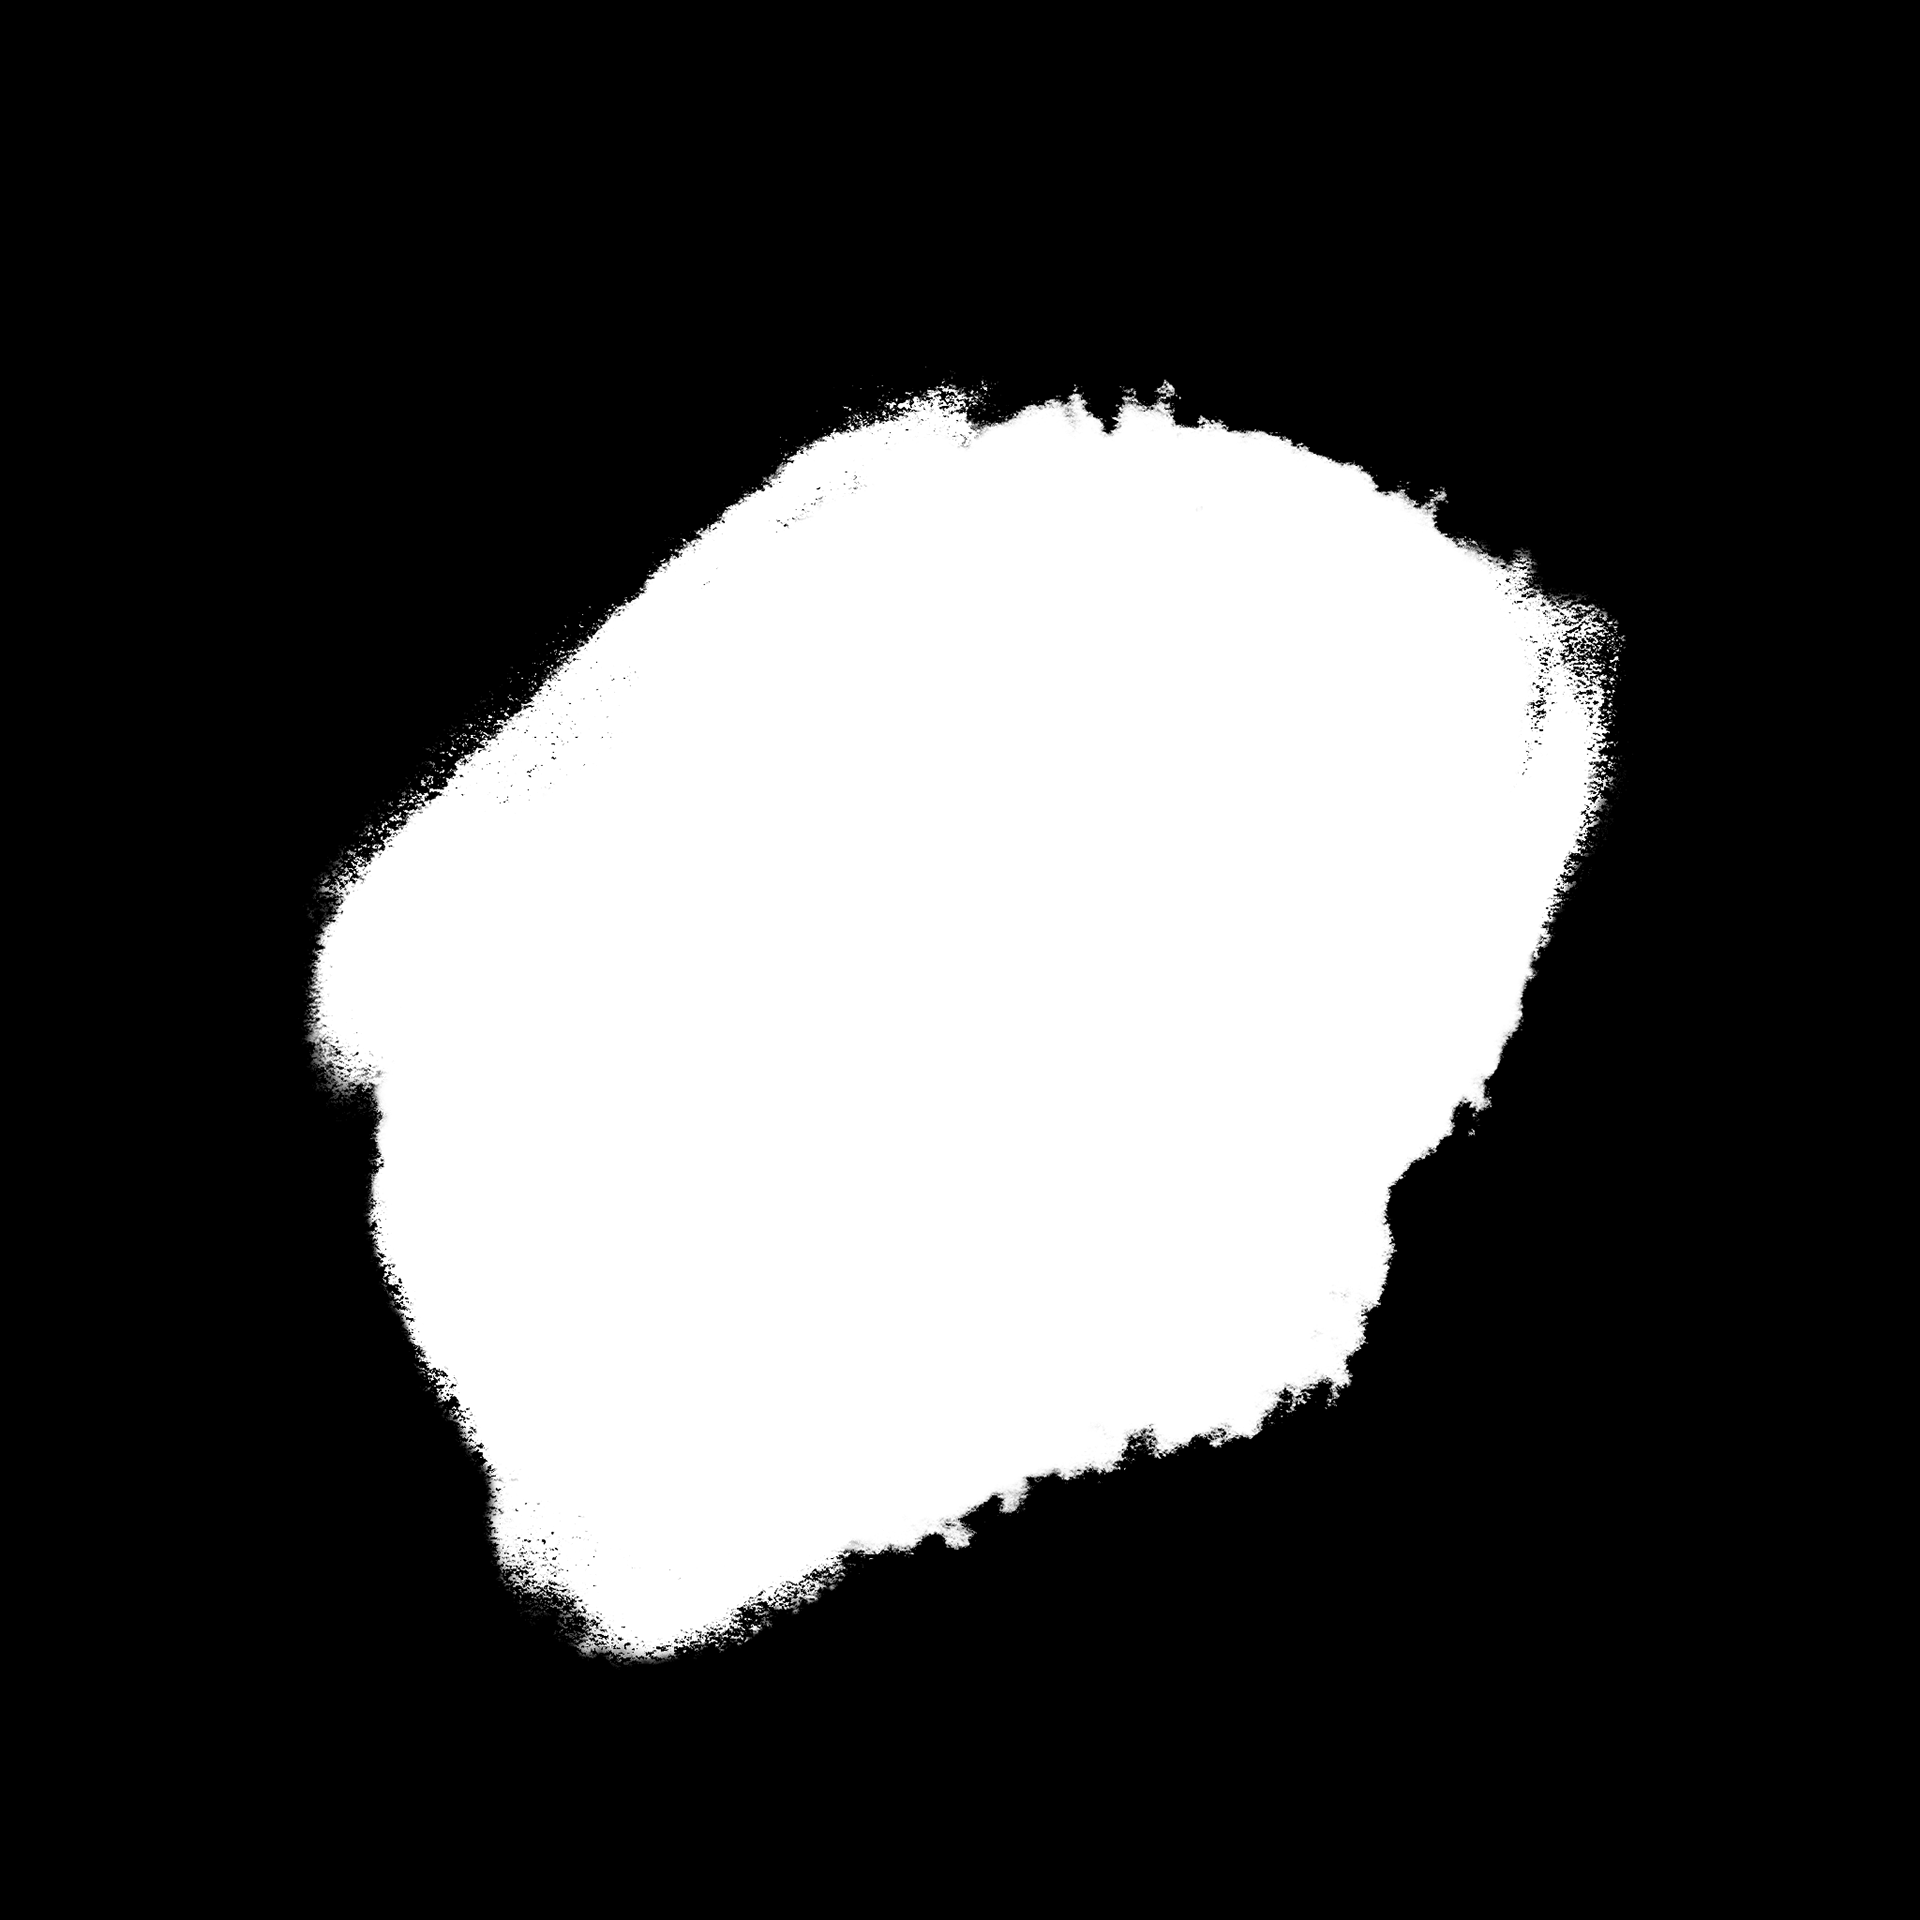
I didn’t want the effect to appear too close to the camera or in places without grass (like dirt), so I made a custom mask in Photoshop to control which areas receive the highlight. I also created a seamless alpha texture for the shape of the highlight, which is repeated across my landscape material. These gave me more control over the final look, and allowed me to achieve a more dynamic, painterly landscape.
Landscape highlight effect in Unreal Engine
Top view of landscape in Unreal Engine
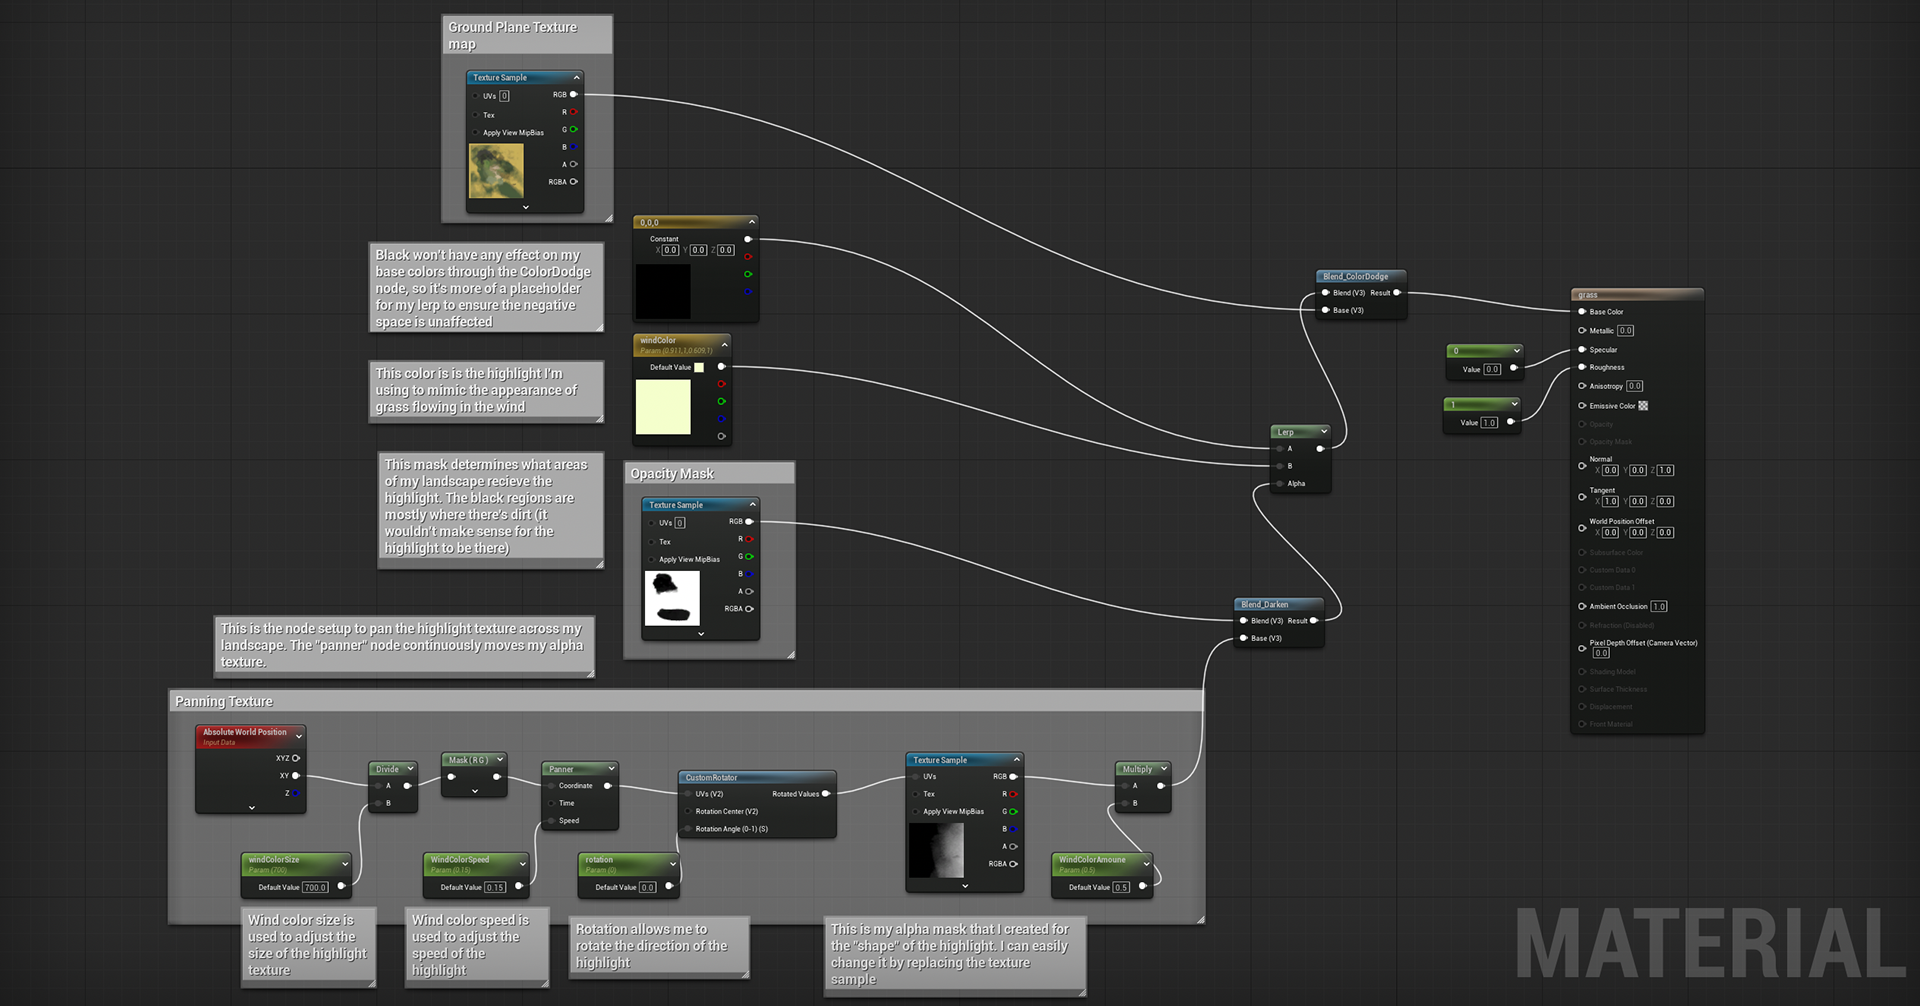
Landscape material blueprint
Pokémon - Modeling, Texturing, and Animation
Next, I moved on to sculpting and surfacing Regigigas, which was a fairly straightforward process. I focused primarily on the front of the model, since the back wouldn’t be visible in my scene.
Just as I started texturing, Substance Painter released their new stylization filter, which I took advantage of right away. It turned out to be incredibly useful, especially for speeding up the stylization process. I really appreciated the level of customization it offered, as I was able to control brush stroke variation and quantity to fine-tune the look. While the filter seems to work better on certain materials than others, it was especially effective on the metallic surfaces.
After importing Regigigas into Unreal Engine, though, I ran into an issue—the model looked oddly low-poly once it was in the environment. My first thought was that it might be an issue with my export settings from Blender or import settings in Unreal. I spent over an hour troubleshooting, adjusting settings, and searching online with no luck. Since the model looked perfectly fine in Maya, Blender, and Substance Painter, I then figured it had to be something specific to Unreal. That’s when I remembered Nanite support—Unreal’s geometry optimization system. Once I disabled Nanite on the mesh, everything looked normal again. I’m still not entirely sure why Nanite caused issues with this particular model, but I was relieved to have found the solution.
After applying the materials, I decided to add some highlights using planes and a simple emissive material. I was quite satisfied with the result as it helped to exaggerate the stylization and draw the focus towards Regigigas.
Stylization filter in Substance Painter
Issues with Nanite support in Unreal Engine
Using mesh planes for highlights
One of the final steps was modeling, surfacing, rigging, and animating Starly, the bird Pokémon featured in my scene. I definitely procrastinated this part, as I had never rigged a character before, and my experience with 3D animation is limited.
I approached the model with enough topology to allow wing flaps, head turns, and some motion in the feet and tail. Initially, I kept the mesh pieces separated, thinking it would simplify rigging. But when I tested the rig, I couldn’t get the wings to move the way I wanted. I ended up combining the parts and doing some basic retopology and weight painting, which turned out to be far less intimidating than I expected. Joey Carlino’s rigging tutorials on YouTube were a huge help for learning the basics.
After getting a functional rig, I brought Starly into Maya and animated a few idle and flying cycles using real bird footage for reference. While my animations aren’t perfect, I think they work well enough for background characters. I then used Unreal’s spline actor system to make Starly follow custom flight paths throughout the scene—it was a fun and efficient way to add life and movement to the environment.
Flap animation
Glide animation

Land animation
Idle animation 1
Idle animation 2
Idle animation 3

Using spline paths for animation
Final Renders & Takeaways
This project was incredibly rewarding and really solidified my love for environment art. I learned so much—not just about stylized workflows and sculpting organic assets, but also about creative problem-solving and trusting my artistic instincts. Even when things didn’t go as planned, I felt motivated to keep pushing forward and learn more about areas I was previously unfamiliar with. It was exciting to bring this concept into 3D, and seeing it come to life over this past semester was honestly surreal. I’m quite happy with how it turned out, and even more excited to keep experimenting, improving, and creating new environments in Unreal for future projects.
Base color
Lighting only

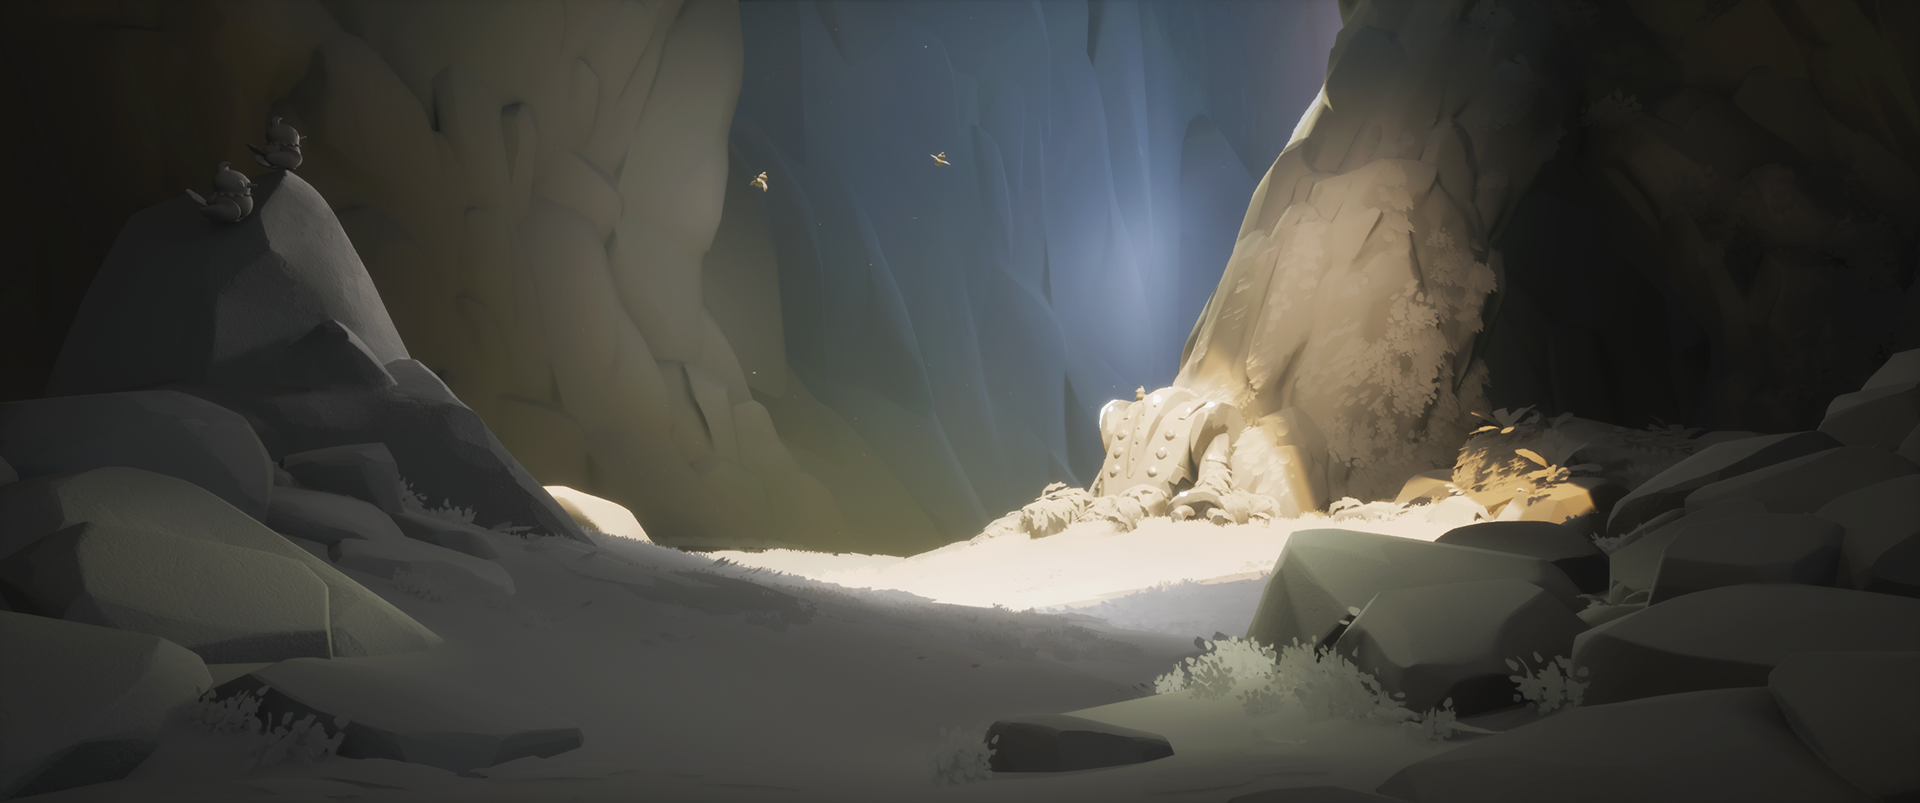
Final render
Progression throughout the semester
Thank you for reading, if you have any questions or inquiries, please feel free to reach out to me!
Thank you!